


Today, the wide diversity of shades and effects existing on the market and the extensive range of colours offered by manufacturers (many of them with their own pigments and tolerances of the original colours) make the task of colour matching the bodywork very difficult.
The professional painter may have prepared the intermediate coat perfectly and correctly applied the colour in terms of extensibility and uniformity, but all the effort and work invested will have been in vain if a good colour matching is not achieved.
Fortunately, body work and paint shop professionals use certain techniques, such as colour blending, to help minimise colour differences in the eyes of customers, obtaining optimum colour matching, integration and adjustment.
What is paint blending?
Video Url: https://www.youtube.com/watch?v=hz2hHRekKXA.
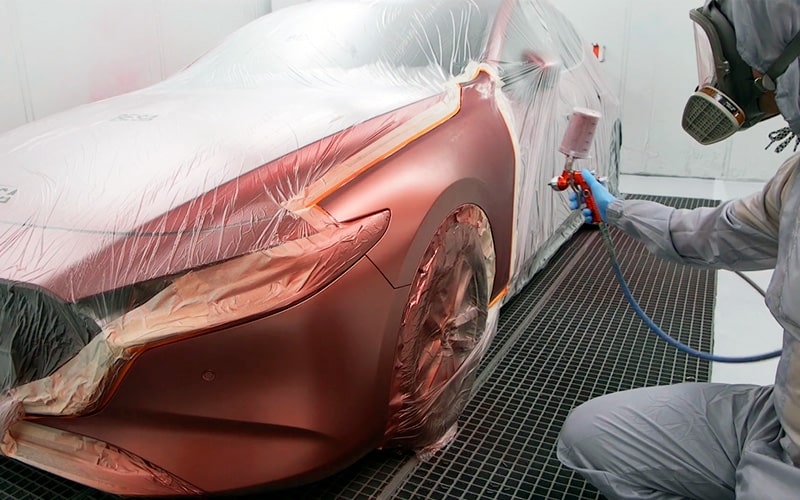
In bodywork repainting, the blending technique consists in applying colour to certain areas of the parts that are adjacent to the repair, degrading the amount of paint to apply from more to less, through a smooth transition.
In other words, it means “melting” the colour between parts to conceal the change of colour where the parts meet. The aim is to prevent colour differences and an optimal integration between the part to be repaired and those adjacent to it.
Blending consists in “melting” the colour between adjacent parts in order to optimise their integration into the bodywork.
This way, you contribute to making small colour differences between the paint applied and the original paint unnoticeable to the human eye.
How to achieve a good blending in a car and its advantages
With this technique you are limiting the area to repair, optimising product consumption (painting the smaller amount of parts possible and reducing coat thickness) and ensuring colour matching.
This technique that complements the repair process and improves colour reproduction.
On the other hand, repair times are shorter, which leads to having more tome for the masking, assembly and disassembly of parts, filler or drying processes.
TIP: The larger the surface to blended, the smoother the colour degradation to perform from the inside to the outside
The blending can be applied in single layer base coat finishes, two-coat finishes or three-coat finishes (here, both the colour and the clear coat are blended).
Note that the blending technique is different to partial painting. In partial painting, the repair focuses on the actual part, without going beyond its limits.
In plain colour repairs , blending is not very usual, unless you are having trouble with the colour matching or if you do not have a colour shade that is suitable for the body colour. Also, it may sometimes be convenient to use paint test cards to perform a colour testing to ensure a correct colour matching.
Without a doubt, a painting system that offers great blending will be the best ally in any type of repair, however complex it may be.
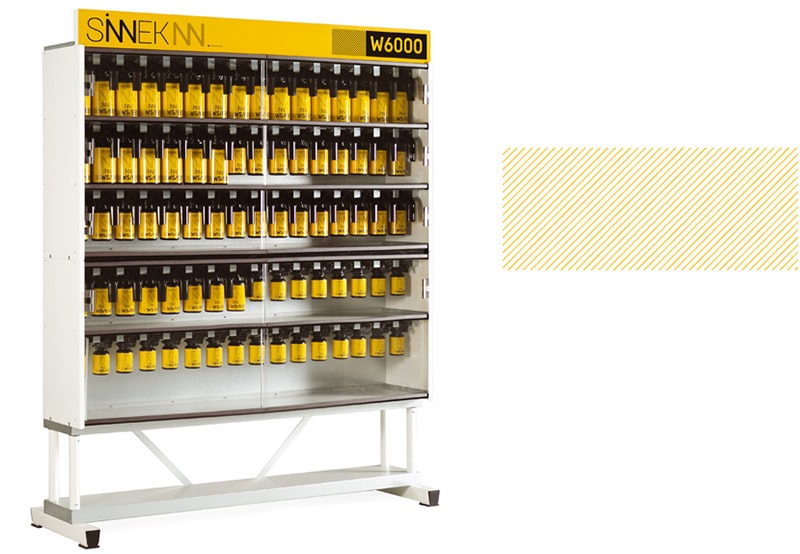
A good example is SINNEK’s W6000 Series, a high performance water-based two-coat system, which, in addition to being a great blending product, provides high-level coverage and colorimetry, to achieve high productivity and an excellent finish paint.
Factors causing body colour matching problems
Let us see some factors that can cause greater difficulty in obtaining a correct colour match:
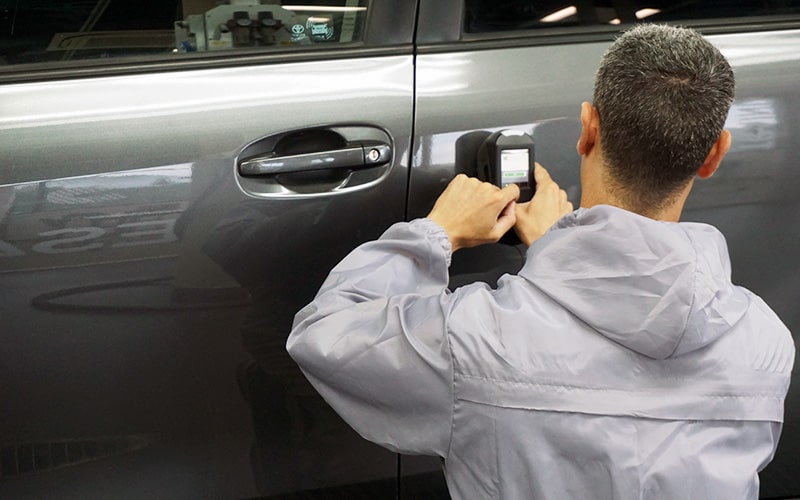
Difficulty in obtaining a colour formula that matches the colour of the part to repair
It may be because the vehicle has been previously repainted, because it does not have a colour shade that matches completely, or because the paint has deteriorated over time.
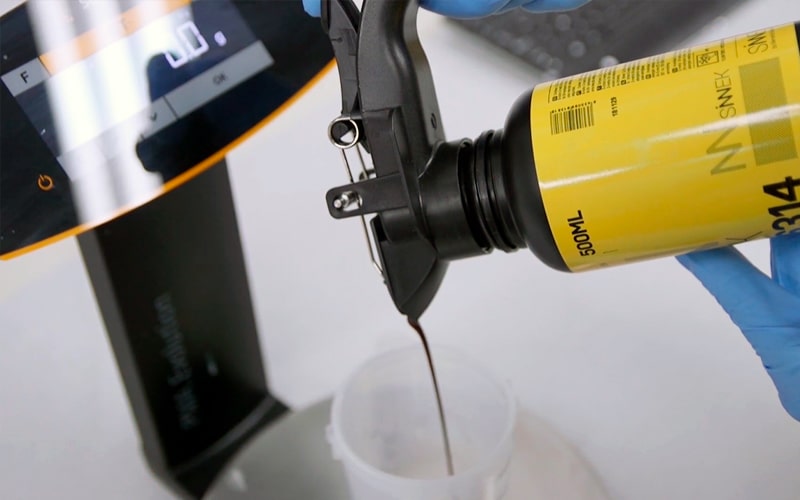
Incorrect preparation of the colour mixture
Mismatches in the amount and proportion of basic colours in the mixture. The painter must have a good technique and experience, both in pain application and in the prior preparation of the part and colour.
Incorrect orientation of the effect particles
It usually happens mainly with metallic and pearly colours (especially in silver or champagne shades), because of an incorrect application technique due to the absence of an effect coat.
A final effect coat will be essential to achieve the correct orientation of aluminium particles.
These type of colours have a large number of aluminium particles, and their correct distribution and placement will be crucial to achieve good colour integration.
In degraded areas where less paint is applied, these particles can be oriented or placed differently, which can lead to clouding or cloudiness.
Incorrect application conditions
- Extreme temperatures.
- Inappropriate mixture viscosity.
- Adjustment of the application equipment (product flow, fan, pressure).
- Application technique by the professional (speed, distance, movement, etc.).
- Do not adjust the filler colour to the colour of the finish: this, in addition to generating a colour matching problem, will cause coverage problems, and will require more product.
When is it advisable to apply the blending technique?
Generally, the colour blending technique will be used in the following cases:
- High visibility areas: highly exposed body areas such as spoilers or doors.
- Replacement parts.
- In metallic or pearly colours (due to the orientation of the particles, the placement of which may change the shade and brightness of the part).
In damage caused to edges of parts, or to adjacent parts. Adjacent parts that are angled at the overlap line do not require blending. This is common in spoilers on hoods and the reason why blending is not necessary is because the angle they form generates a different perception of the metallic or pearl effect, masking any colour deviations caused by the application.
Types of application in vehicle repairs
Painting of the entire part or cut painting
It is based on the application of colour to the entire part, regardless of the size of the damaged surface.
Cut painting requires a very accurate colour adjustment on all parts that are adjacent to the damage to repair, due to the difficulty in hiding colour differences between parts.
This technique is usually used more in colours that are less difficult such as plain colours or dark colours. However, this application method is not recommended in repairs of more complex colours such as metallic and pearl colours.
Partial painting
Partial painting is based on applying clear coat or colour only to the defined area of the damaged part, not to the entire part.
This technique is often used in areas with mouldings or folds in body panels enabling a visual separation of parts (also narrow low-visibility areas).
Painted with blending
Depending on the size of the damage to be repaired and where it is located on the part, the blending technique can be classified into two different techniques:
Types of blending
1. Blending of colour on the same part
A common situation may be that the damage to repair is small or medium in size and is far from the edge limiting with adjacent parts, leaving room for action before reaching the limits of the part to be repaired.
In these cases, you could choose to use the blending technique on the part itself. This way, the risk of colour differences with adjacent parts is reduced.
Steps involved in colour blending of the same part
- First, apply a layer of colour on the patch. Try to degrade a small amount of paint, without spreading it too much and applying the colour in all directions at the edge of the patch.
- When this first layer has evaporated, apply a second larger layer which should cover the entire patch, again degrading from the outside towards the limits of the patch. Do not to apply colour to the edges of the part, since this could jeopardise a correct colour matching.
- In metallic or pearly colours, once this second layer has evaporated, you can apply a sprayed layer for better colour adjustment and orientation of the particles (try not to apply on the edges of the part).
- Finally, apply the clear coat.
2. Colour blending on adjacent parts
In situations where the damage to repair is too large (and in replacements of new parts) you will have to apply colour to the entire part, performing the blending technique on the part or adjacent parts of the damage to be repaired.
This repair technique is often used for repairs to vehicle side parts, due to its vertical orientation, which can result in greater colour and brightness variations.
Example: if you want to paint a vehicle’s rear spoiler, you only have to blend the rear door, as the colour difference with the bumper would be unnoticeable.
Steps involved in colour blending of the same part
- First apply a first layer on the damage to be repaired, extending it slightly to the adjacent part or parts.
- Wait for it to evaporate, and apply a second layer covering the entire part to repair. Then, apply a layer of colour to the adjacent parts, blending obliquely from the part to repair to the opposite end.
- Once it evaporates, apply an effect coat without reaching the edges of the adjacent part.
- Apply the final clear coat.
Final bonus: clear coat blending
You can also blend the clear coat, which will result in a lower final product consumption.
Clear coat blending is mainly carried out with two-coat colours, when the colour has been blended and you do not want to apply clear coat to the whole part. The clear coat blending will also prevent any staggered accumulation of paint on the surface.
Once the colour has evaporated, apply a first layer of clear coat to the entire surface blended with colour, almost reaching the area where it joins the original paint.
Then, apply a second layer, exceeding the application radius of the first coat, so that the overlap between coats is as thin as possible.
Conclusion
As we have seen, a correct colour reproduction is essential for obtaining a quality repair that is unnoticeable to the human eye.
Accordingly, the blending of colour on the bodywork will be one of the main techniques to be mastered by the professional painter in order to optimise repair integration. Knowing how to blend and when to do so will directly influence the productivity and profitability of any repair.