


The refinishing of solid grey colours, such as the WAG Group’s Nardo Grey colour code, is a process that is becoming more and more popular in bodyshops due to the continuous proliferation of this type of solid colours among the main manufacturers in the automotive sector.
This is the reason for which we have created this tutorial, where we show step by step how to correctly match this type of solid grey colours, obtaining a perfect integration of the repair.
Solid grey colours, a growing trend on the market
As pointed out above, the proliferation of solid grey colours in the bodywork sector is becoming increasingly noticeable. The first colour code released to the market was the well-known Nardo grey colour code, which appeared on the 2014 Audi RS7 Sportback .
In the beginning, this type of colours were integrated in high-end bodywork, which, combined with other elements such as wheels or plastic parts in solid black colours, provided transgressive and differential aesthetics.
Subsequently, these types of shades have been adopted by virtually every vehicle segment, from SUVs to utility vehicles and have become an increasingly common type of colour on our roads.
Solid grey repainting step by step (Nardo Grey colour code)
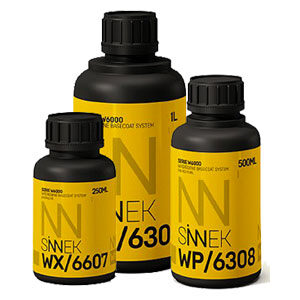
To obtain a high quality repair in this type of shades, we will use a high performance two-coat system with excellent blending and covering power, such as SINNEK’s water-based two-coat system.
The use of SINNEK’s W6000 SERIES system will ensure great colour brightness and colour matching in this type of shades
Let us now look at all the steps to follow to ensure a correct matching of the repaired colour.
1. Solid grey colour identification
First, we will use a spectrophotometer to measure the colour of adjacent areas.
Choose the right colour version in the software.
2. Intermediate coat optimisation
To optimise the colorimetry of the repair, the system’s software will provide the ideal shade of primer colour to obtain an excellent coverage, avoiding the need to apply more layers than those required.
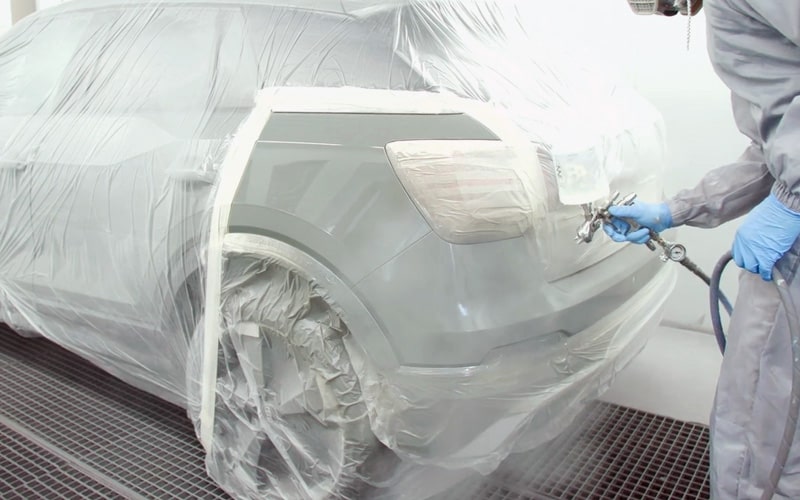
3. Application of the colour coat
The colour coat is formulated following the software instructions. Subsequently, adjust the viscosity of the paint depending to the temperature and relative humidity there is at that time. Thinning can range from 15 to 35% / 70 to 100%.
Regulate the spray gun based on the product’s technical datasheet.
Apply a first anchorage coat.
For this repair, we will use colour blending, extending the product towards the limit of the part from inside to outside, reaching the adjacent part, in order to favour the integration of the repair.
Subsequently, apply a second more even, extended and regular coat on the area to repair, avoiding overloading the edges.
4. Application of integrating additive (optional step)
As a tip, if you want to ensure even more the correct colour matching and depending on the context of the repair, you can use an integrating additive specially designed to optimise the colour transition in blending processes such as the one in this example. This step is optional.
Prepare the mixture and apply it over the entire repaired surface.
With its use, we increase the possibility of avoiding the appearance of halos or marks on the edges of the patch, which are typical in this type of solid grey colours.
5. Application of the final clearcoat
Finally, apply a high performance clearcoat as final coat.
Apply two regular and uniform layers over the entire surface, providing extra chemical and mechanical resistance to the part.
After the drying time described in the technical datasheet, and following all these steps, you will obtain a repair with excellent matching of solid grey colours such as this Nardo Grey.
SERIE W6000, the water-based two-coat system adapted to the reality of bodyshops
The W6000 Series is SINNEK’s water-based two-coat system that is specially designed to optimise the application and drying times of the different repair processes, allowing significant energy savings, and ensuring excellent gloss, appearance and durability of the finish.
All these features will allow the professional to:
- Reduce costs per repair.
- Improving bodyshop planning.
- Reducing delivery times.
- Increasing the flow of repairs.
- Improving customer satisfaction.
The W6000 Series system is an excellent choice for any bodyshop looking for a water-based paint system that strikes the right balance between high profitability and quality finish.