


With this post you will learn what a spectrophotometer is and how to integrate it step by step within the formulation and colour matching processes during the repair, improving colorimetry in the bodyshop, and therefore, its profitability and productivity.
Knowing the importance of accurate colour information in car refinishing and knowing how to use the spectrum in the bodyshop will be the first step for an efficient and quality repair, and for obtaining an optimal car paint.
What is a spectrophotometer?
Today, there is a wide variety of colour shades and hues on the market. White ceased to be a plain white a long time ago, and paint manufacturers’ colour charts are constantly growing to meet new design trends and the needs of OEM manufacturers.
Therefore, obtaining accurate colour information during refinishing is essential to increase our competitiveness and to satisfy the most demanding customer. This is where the spectrophotometer becomes particularly important.
A spectrophotometer can be defined as the tool that measures the amount and intensity of light that is absorbed by an object.
What is spectrophotometry?
Spectrophotometry is the technique of measuring or quantifying the energy that is absorbed by and radiated from a material.
The first scientist to lay the foundations of what would be the future spectrophotometry, was Isaac Newton who, through experiments with prisms, established the principles of light dispersion and refraction and defined “spectrum” as all parts that constitute white light (rainbow colours) obtained from the passage of such light, through a prism.

Types of spectrophotometers
There are different types of spectrophotometers, with application in various sectors and specialities:
- Infrared spectrum: Study and identification of chemical substances.
- Ultraviolet spectrum: Identification of molecules, black light.
- Spectrophotometer r.m.n.: atomic/nuclear absorption.
- Double-beam spectrophotometer
- Single-beam spectrophotometer
- Reflectance spectrophotometer: (e.g., ma3 topaz), x-rit, byc (angles: 3, 5, 7, 11, etc.), konica minolta. This is the spectrum used in the bodyshop for taking colour measurements.
How does a reflectance spectrophotometer work?
The operation of a reflectance reflectance spectrophotometer is based on illuminating the sample with white light and analysing the amount of light that the sample reflects at a range of wavelengths, most commonly at 31 wavelength intervals.

This is achieved by passing the light through the monochromator which will split the light into different wavelength intervals (the cuts range from 400 nm, 410 nm, 420 nm … 700 nm).
It should be considered that the human being only perceives a very small range of the electromagnetic spectrum
Colour measurement process with a spectrophotometer step by step
Due to the continuous appearance of new shades by car manufacturers, and the increased complexity in reproducing certain colours, the use of tools that ensure accurate information in reading the colour becomes essential in many cases.
This need is even more pronounced in parts that have been previously repainted, where the differences in colour compared to the original factory painting can vary substantially, causing in certain cases phenomena such as metamerism.
Therefore, it is increasingly necessary to use colour tools such as a spectrophotometer, which makes the colour reading process easier and achieves a higher quality final repair.
Step 1: Identification of the surface to repair
You should first focus on the importance of correctly identifying the surface to be repaired, which will provide information about the area where you should take the colour reading and the type of repair to be conducted.
Find out if the colour of the vehicle is original or repainted
The first step to be considered when correctly identifying the area to be repaired is to find out if the vehicle has been repainted previously, or if on the contrary, it keeps the manufacturer’s original colour.
The vehicle’s different parts and structure must be examined in detail to make sure it has been repainted, or if it has paint defects such as scuffing, sagging, asymmetry of paint or other defects.

Sometimes, it can happen that the car itself keeps its original factory paintwork but has colour differences on different surfaces, due to factors such as the ambient temperature when it was applied in the production line, the nature of the surface material or the calibration of the painting equipment, among other factors.
Optional use of a micrometer
An alternative that can give us more accurate information about whether a car has been repainted would be to use a micrometer, to know the exact thickness of the surface.
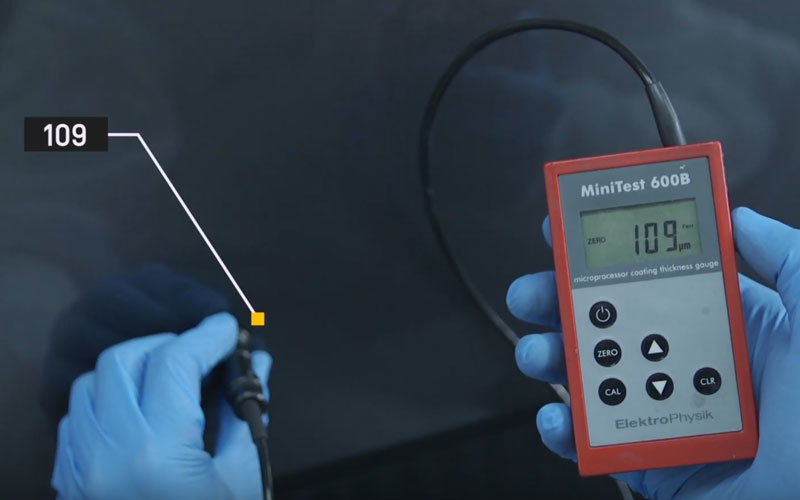
In this way, you can compare the value of the micronage of different areas, to know for sure which layer has a greater thickness, and therefore, to know if it has been repainted previously.
Choice of measurement site depending on whether blending or patching is to take place
Depending on where the damage is in the part to be repaired, the professional should assess whether to make a patch or blurring on the adjacent parts, to ensure an even colour, shade and brightness.
Surface to be patched: reading on the same part

Therefore, in small damage in larger parts in central areas, as for example a bonnet or doors, you can place a patch on the surface, take the colour reading of the same part, without having to collect information from adjacent parts.
Surface on which to apply blending: reading on adjacent parts

Here is another example of a repair using the blending technique. Our recommendation is always to apply one layer of blending, as this will increase the possibilities of obtaining a better colour and finish levelling with all the adjacent parts.
This way, once the area where the colour reading is to be taken has been identified, depending on the location and size of the damage, we will move on to the next step: taking the reading of the part with the spectrophotometer.
Step 2: Preparing the surface for reading
To correctly take a measurement of a surface, it is important to follow a series of steps to ensure an accurate colour reading.
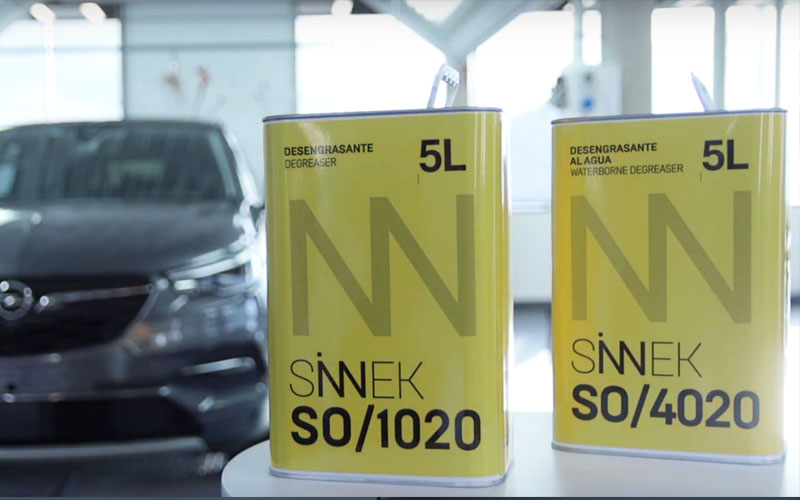
Prior cleaning of the surface
First, clean the surface where you will take the spectrophotometer reading with a degreasing cleaner.To do this, you can use both a waterborne degreaser and an acrylic degreaser.
Soak a microfibre cloth with the chosen degreaser and clean the area thoroughly. Make sure no dirt remains.
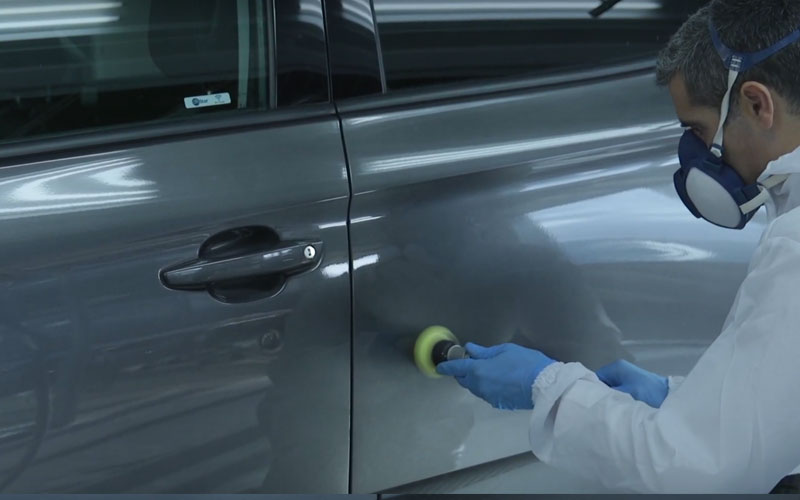
Surface polishing for accurate colour measuring
The next step is to polish the surface where you are going to take the reading for a much more accurate and interference-free colour.
To do this, always use a polishing machine, instead of polishing manually with a microfibre cloth, as this ensures the same pressure and polishing movement, favouring an even surface for a more accurate reading.
As for the polish to be applied, use a finishing and shine polish, avoiding cut or devastated polishes, as these can produce an excessive polish on the surface, distorting later the reading data of the spectrophotometer.
It is also advisable to avoid overheating the surface to avoid removal or veiling of the finishing material.
Polishing should be done at an appropriate speed, which is neither too fast nor too slow, and with steady movements back and forth in different directions on each stroke.
The polishing process prior to reading is essential, as the colour of a polished and unpolished surface can vary greatly, and therefore distort a correct reading.
This image clearly shows the difference in colour and shade between a polished and an unpolished area. A different shade is observed, which will also result in readings with different colour results.

Cleaning of the polished surface
Once the polishing has been conducted, remove the remains of the polishing paste with a cloth.
Use another clean microfiber cloth and soak it with waterborne degreaser to clean the surface.

In this case it is important to use a waterborne degreaser instead of an acrylic one, as the waterborne degreaser is less aggressive to the newly applied polish.
After correctly cleaning the reading surface, you are ready to take the reading of the part with the spectrophotometer, ensuring the most accurate reading possible of the colour of the part.
Step 3: Spectrophotometer calibration
A correct calibration of the spectrophotometer is a key factor in obtaining accurate and reliable colour readings. Take as an example the X-RITE MA3, one of the most widely used models among paint manufacturers nowadays.
When to calibrate the spectrophotometer
Bear in mind that if you always keep your spectrophotometer calibrated, it will help you to obtain much more accurate information from the colour reading. In addition, in certain cases, the device itself may not allow a reading to be taken if it is not pre-calibrated.
This process will not take long, and in return, it will ensure greater reliability in the reading.
It should also be considered that since a spectrophotometer is a photosensitive device, it can get decalibrated due to sudden changes in ambient temperature or extreme temperatures.
The calibration process, according to the manufacturer’s instructions, should be conducted at the latest every 14 days. Our recommendation is to do this daily, as the time required in relation to its benefits is minimal. Calibrating it before any repair will take no more than two minutes.
Steps to follow
First, verify that the spectrum’s battery is charged and the lens is cleanand in good condition.
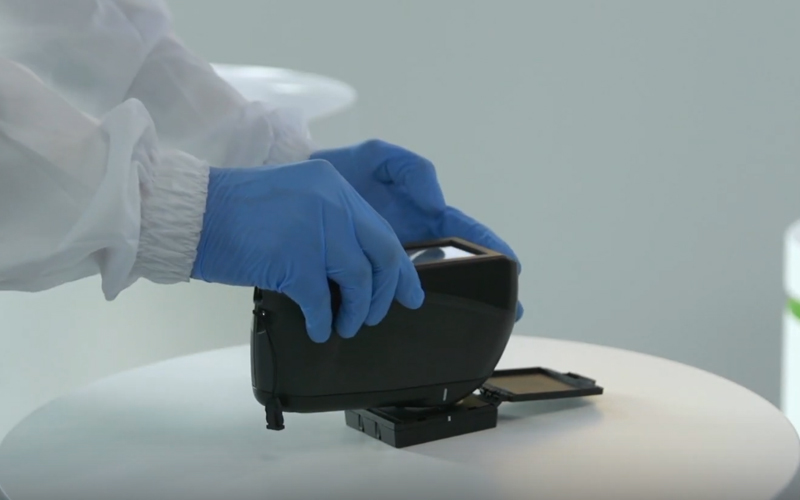
Then, place the white ceramic plate that comes with the spectrum in a horizontal position on a flat surface without movement.
The white point calibration is used to offset gradual variations in the spectrophotometer.
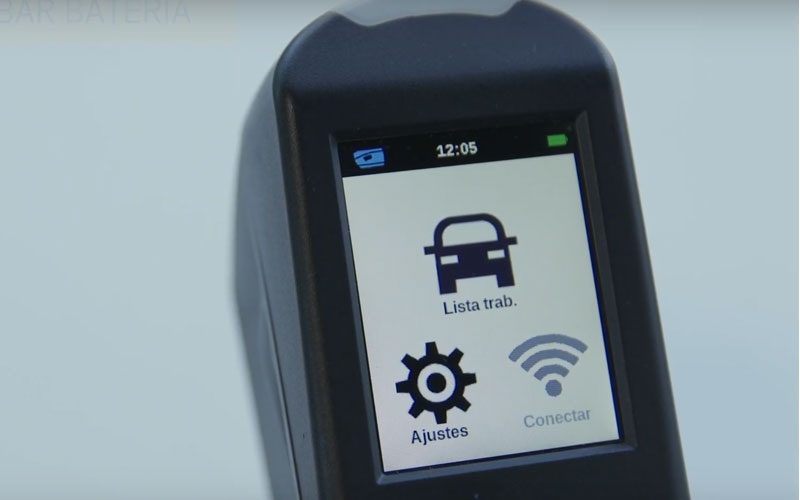
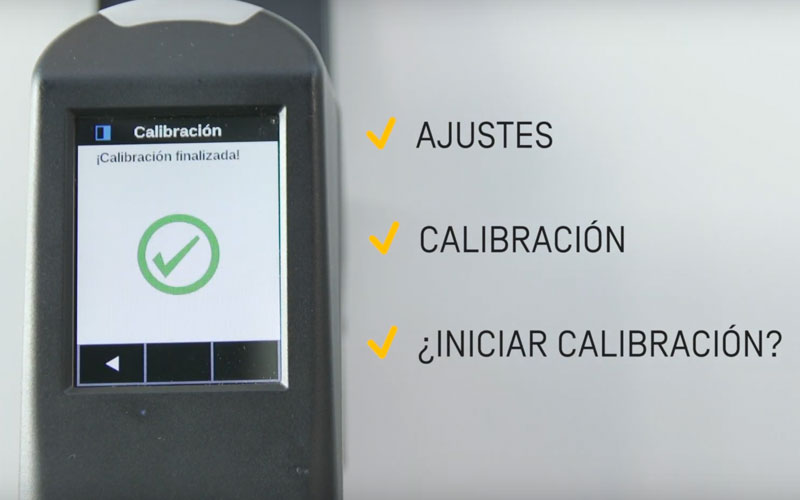
Then, access the settings screen -> click on calibration, and the following question will be displayed: Start calibration? -> Click on “yes”.
Do not remove the spectrum from the white ceramic until the calibration process has been completed. Finally, a screen will appear confirming that the calibration has been completed.
This way, the spectrophotometer will be prepared to take the reading of the vehicle’s surface.
Step 4: how to perform a colour measurement with the spectrophotometer
Once the surface is prepared to take the reading, and after correctly calibrating the spectrophotometer, it is time to take the colour reading.
By using the spectrophotometer, we aim to obtain the most accurate surface colour information possible. This way, the mixture formulated from that reading, will help you to obtain better colour matching of the area to be repaired with respect to the adjacent parts.
Finding the car’s colour code
The first step is to take the car’s colour code reference, which, depending on the brand and model, can be situated in different parts of the car, such as the boot, door pillars, under the bonnet, or in the car’s documents.

The location of this code may vary for each make and model. You should consider this information when you start working with the colour management software.
Colour reading
Once you have prepared and cleaned the surface to be measured correctly, it is time to take the colour reading with the spectrophotometer.
First, in the main spectrum screen, click on “work lists”, and then click on “add new work”.

This way, the spectrum will go into reading mode. Place the spectrum in the polished area. Always vertically, as it takes a better reading that when placed horizontally, preventing any movement. It must always be rested evenly on the surface.
If the device is properly placed, itwill show green lights. Otherwise, it will show red lights.
Then, take 5 manual readings without moving the spectrum from the substrate surface.
Sometimes, the “dark mode” may be activated when measuring dark colours. This is doneto extend the reading time and brightness when taking the reading, as light reflection is more complicated with dark colours.
Interpreting the data obtained
After taking the 5 readings, the result of the reading will be interpreted through the valuation indicator.
Our recommendation is that if the 5 points in green have not been achieved, it means that there is a large difference between the 5 readings taken, so you should conduct the reading process again right from the start.

The reasons for this incorrect result can be related to poor surface preparation, poor calibration, poor condition of the spectrum lens or movements during the measurement process.
Then, once the measurement is finished, save the reading information by clicking on the pencil icon. The information that you will be able to save will be:
- Colour code.
- Registration plate.
- Vehicle manufacturer.
- Vehicle model.
It is interesting to save the information for each car and repair, which works as a repository of information so that it can be accessed it in the future if needed.
As a final step, save the information, and connect the spectrum to the computer.
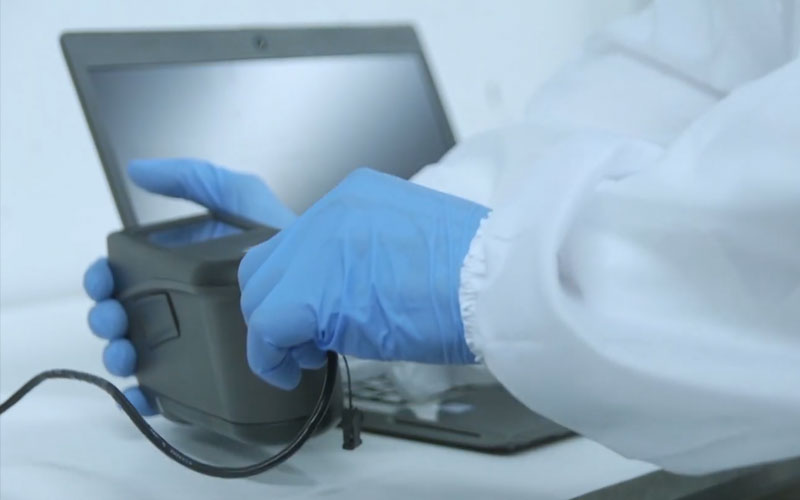
Once the spectrum measurements have been transferred to the computer, we recommend deleting them from the spectrum to prevent mistaking them with other readings.
This way, you will be ready to work on the computer, and to verify the information obtained with the colour management program.