


How to prevent paint sagging during the application and repair process is a question that all bodyshop professionals have questioned themselves at some point or another.
Sagging, also known as paint sagging, is a defect produced during the application of the finishing paint, the appearance of which can ruin the correct repair of the surface.
Let us now learn about the causes of paint sagging, how to prevent this, and the process to correct this defect.
What is paint sagging and how does it occur?
Paint sagging is a paint defect that occurs mainly on vertically oriented parts, such as doors, fenders or bumpers, and it can occur either in the intermediate coat or in the topcoat.
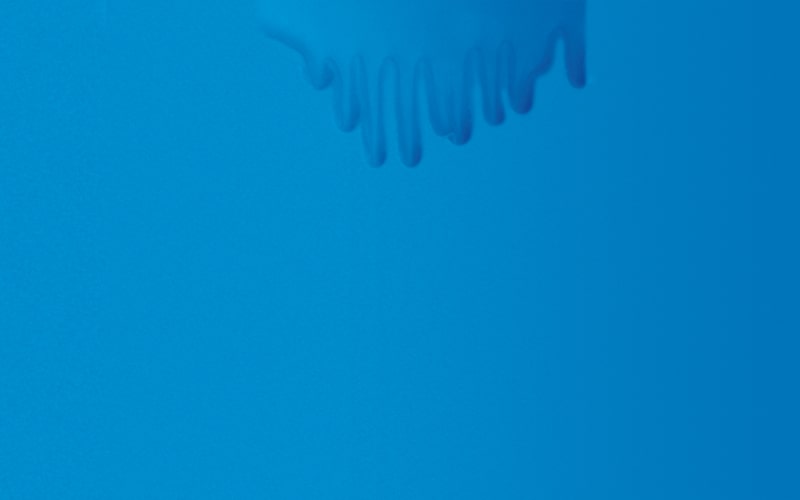
The form in which it appears on the surface is as paint run-off, that is generally caused due to an excessive amount of product.
This excess paint tends to drip downward, because of gravity when applied to a vertical surface, resulting in paint sagging or runs.
Why does paint sagging appear in paint?
The reasons for this painting defect, as in many other cases, have to do with different factors. Knowing them in detail will allow you to anticipate potential errors.
1. Low viscosity caused by excessive thinner
As with several other repainting defects, low viscosity in the paint mixture can lead to sagging.
To prevent this this, we must dilute the paint mixture according to the specifications provided in the manufacturer’s technical data sheet, maintaining a mixture viscosity that is in accordance with the temperature and humidity.
2. Excessive product load per layer
Applying too much paint per layer will influence the appearance of superficial paint or clearcoat sagging.
To prevent this problem, it is advisable to apply thin and dry coats, trying not to overload the part with each coat.
3. Incorrect application causes the paint to sag
An incorrect regulation and adjustment of the application equipment, either due to too low pressure or to an excessive flow of product, can lead to sagging on the surface.
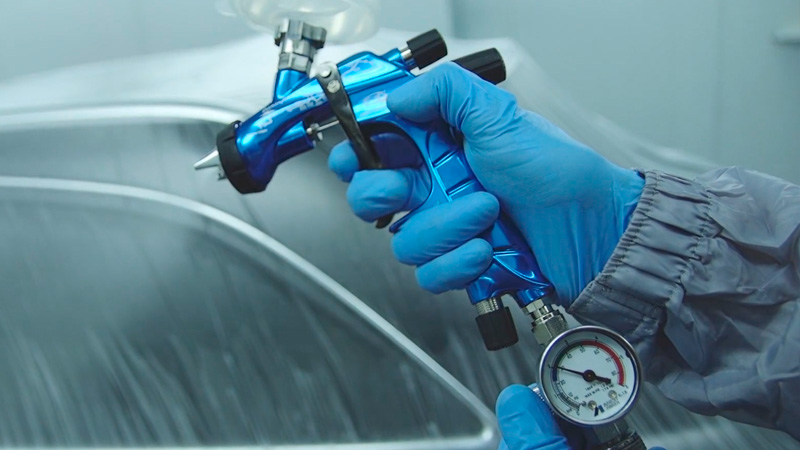
To prevent this, always follow the specifications provided in the technical data sheet in what regards gun regulation. In addition, it is advisable not to apply the paint too close to the surface.
For an even distribution of the paint, keep an appropriate distance between the air spray gun and the substrate.
4. Ambient and substrate temperature
Some environmental factors beyond the professional’s control also have a direct impact on the appearance of paint sagging.
For example, too low a temperature in the booth or of the part to repair can be a common cause of this defect.
5. Insufficient flash-off time between layers
In order for the paint to properly adhere to the surface, you should wait for the appropriate amount of time between layers.
Adapting to the environmental conditions and following the indications of the technical data sheet in relation to the waiting time between layers will help prevent the appearance of sagging in the finishing paint.
6. Slow solvents
The type of solvent to use should be considered based on the type of repair to conduct or the environmental conditions of application.
Thus, the use of heavy or slow solvents in low temperature environments may increase the chances of sagging of the repaired part.
How to remove paint sagging
To solve the appearance of paint sagging, you must first wait for the finish to dry completely, to properly assess the severity of the problem.
- 1. Blade or diamond roughing
If the sagging is not too serious, you can use a blade or diamond (polished steel) to reduce the relief produced by this defect.
Roughing must be lengthwise, so as not to damage the paint coat.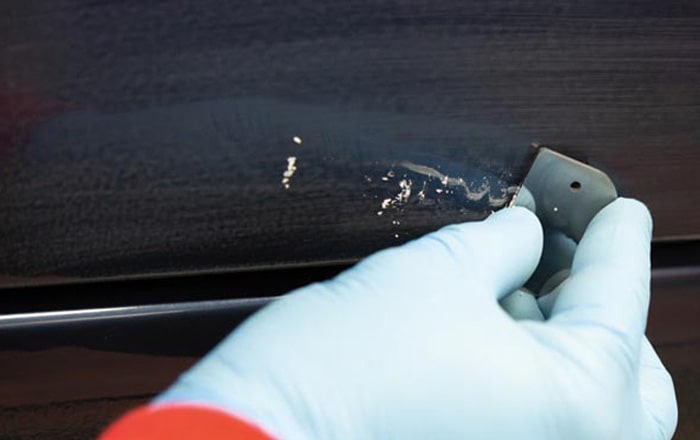
- 1. Sanding of the surface with sagging
We can also assess the surface to sand, using a sander and a P1200-P1500 sanding disc to start with, increasing the grit as required.
Then we will smoothen the surface with a P3000 sandpaper, removing any previously generated sanding marks.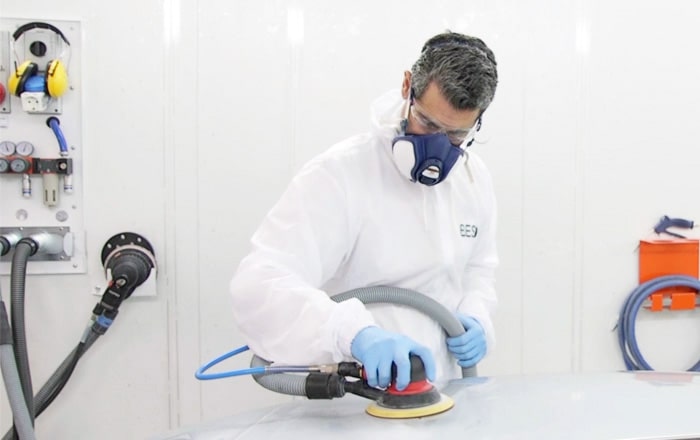
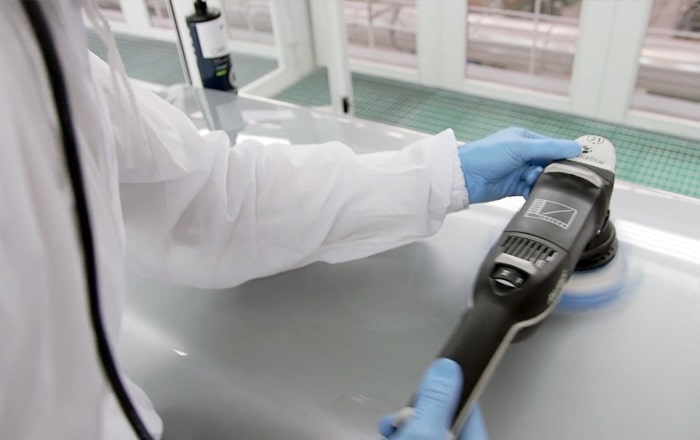
- 1. Surface polishing
Once the surface defect has been removed, you will then polish the part with a sanding polish, and then apply another gloss polisher.
- 1. If the defect affects the lower layers.
On the other hand, sometimes small, occluded air bubbles may have been generated in the internal part of the sagging, affecting lower coats of the paint.
In these cases, the only solution will be to repeat the repair, sanding the affected area, to prepare the intermediate coat again and apply the finishing paint. Following these steps will prevent the appearance of paint or clearcoat sagging.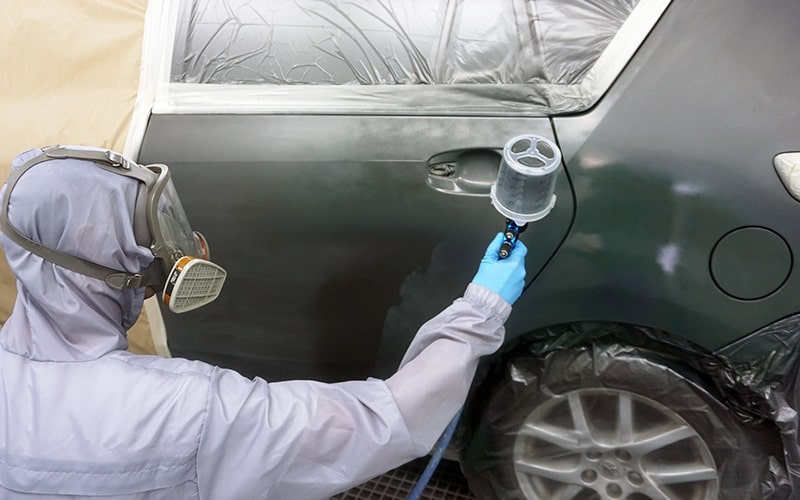
How to remove the clearcoat or transparent sagging
The process for removing clearcoat sagging will be like that conducted in the finishing paint, except that it will not be necessary to repair the colour coat. You simply need to correct the sagging clearcoat, but in large-sized sagging, it will be convenient to sand the clearcoat, and apply the clearcoat again to the whole part.