


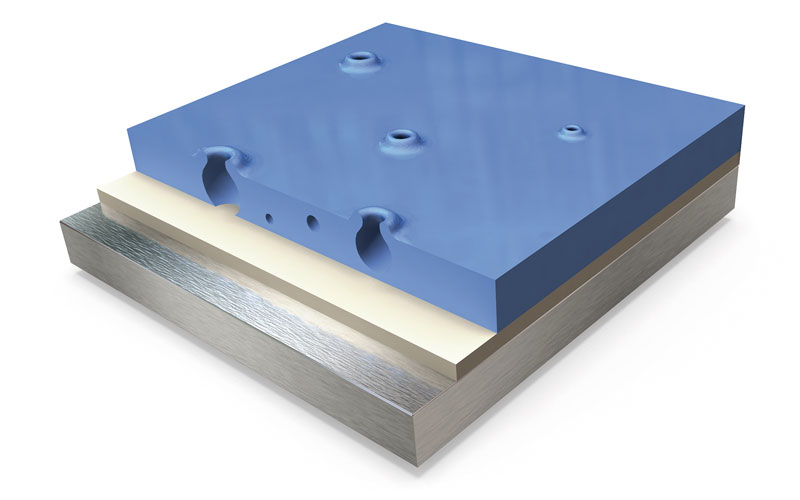
The different defects that can arise during the repainting process of a surface include poppings, also known as solvent boils.
Such a common name is used to define this defect, because the bubbles that appear on the painted part’s surface bear a great resemblance to the bubbles that are created when a bubble pops.
What are car paint solvent boils?
Solvent boils appear when the solvent in a coat is occluded under the outer surface of the topcoat that has dried.
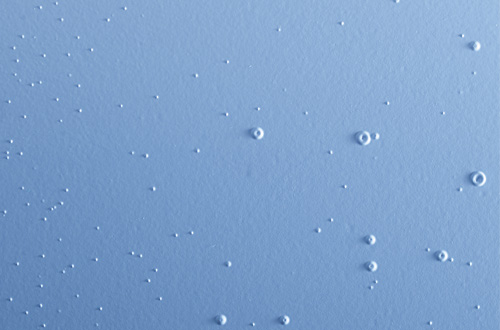
That is to say, these are solvent particles that have not finished evaporating, and that have been trapped by another top layer that has evaporated faster and has dried.
To prevent this problem, you must pay special attention to the drying process, always considering the room temperature and following the drying times instructed for the product by the manufacturer.
Causes for the appearance of solvent boils or popping
The main causes for the appearance of popping are:
Incorrect choice of hardener or thinner
In some cases, the problem may be caused by the use of a hardener or thinner that acts too quickly, preventing the solvent from evaporating completely from the base coat.
Unsuitable drying temperature
In this case, the room temperature must be considered, either because of a high outside temperature, or because of forced temperature increase in the booth, again influenced by the distance of the heat lamps from the processed part.
Evaporation time
The evaporation time between the different coats applied is too short, not allowing time for proper drying in wet-on-wet processes. In addition, a high evaporation time before oven or infra-red drying may also play a role.
Excessively thick coats of paint.
Applying a coat of paint with excessive product, resulting in an excessive thickness of the paint film, can also lead to the appearance of popping in the part.
How to prevent solvent boils from appearing
The factors to consider for preventing this defect are:
Use a slower solvent
Ideally you should use a solvent that provides a balance between evaporation and booth temperature. Note that the higher the temperature, the slower the solvent to be used.
Giving lighter coats of paint
Applying thin and wet coats on the part will favour a much more even and homogeneous paint coat. If you also allow enough drying time between coats, the risks will be reduced.
Appropriate evaporation times
It is important that professionals leave enough time for drying between coats (between 5 and 10 minutes depending on the load), and also before heating, without falling into the temptation to shorten the times to be more productive.
Recommended drying time
The drying time and temperature recommended by each manufacturer, and therefore, by each product, must be followed.
Abrupt temperature changes
A sudden change in room temperature (outside or in the booth) will cause the outer paint film to harden. The subsequent evaporation of the solvents
retained on the inside will swell and break this film, and the typical bubbles will be formed. In addition, a difference in temperature between the sheet metal and the outside environment can produce a thermal shock, also causing the appearance of popping.
How to repair solvent boils in car paint
As in many other cases, you must first identify the extent of the paint defect. In the event of appearance of small-sized and superficial bubbles, follow the following process:
- Sand the area containing solvent bubbles with a sander and a P1500 abrasive disc to start with, increasing the grit as needed. The goal is to reach the paint substrate that has no solvent boils.
- Once you have managed to remove them, machine polish the part with an abrasive polish, and then apply another polish.
For larger popping, polishing the part will not suffice as the shape of the defect will still be marked. In order to guarantee finish of the part, it is advisable to carry out the painting process again:
- First, sand the area with the defect, and then apply the priming paint. This way, the part will be ready to apply the final coat.
- How to fix paint cracking
- How to fix popping or sokvent boils in paint.
- How to prevent sanding marks on automotive paint.
- How to fix sinkage in car paint.
- Solution to silicones or cratering in the workshop.
- How to prevent clouding or cloudiness in metallic colours.
- How to solve blooming or loss of gloss in paint.
- How to prevent sanding marks in painting