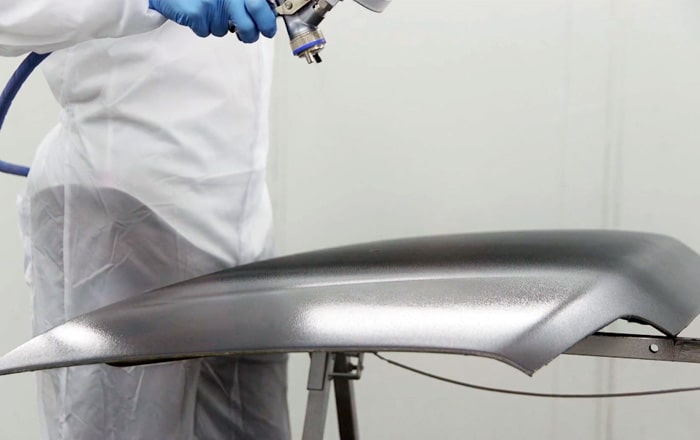


Sinkage, also known as paint loss or sinkage, is a usual repairing defect in shop processes.
This application error occurs when the final coat of paint has dried and has a kind of surface sinkage in the repaired area. Sinkage is often related to an incorrect preparation of the intermediate coat, especially during the putty application phase, hence they are also called putty sinkage or patch marks.
This post shows the causes leading to the appearance of sinkage in car paint, and how to solve it once the application defect has occurred. Let’s get started!
What are paint patch marks or sinkage?
Link to the video: https://www.youtube.com/watch?v=f3WK20W5QxI
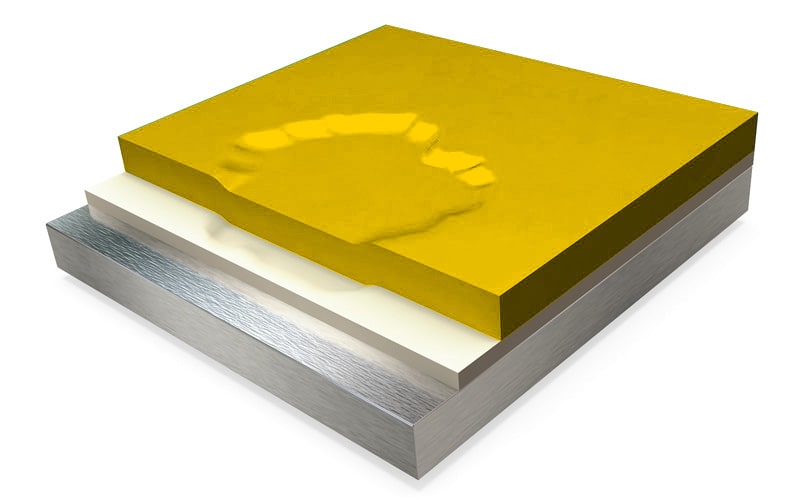
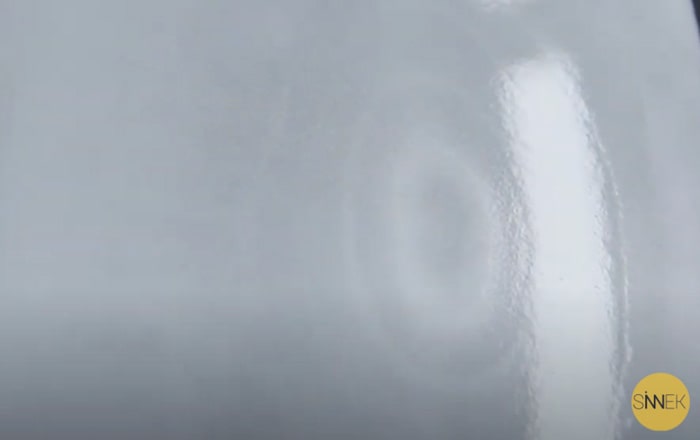
Paint sinkage is an application defect that occurs in the paint’s surface coat, showing a kind of circle or sinking in the previously repaired area.
As mentioned, patch marks are often related to poor preparation and/or application of polyester putty.
How to avoid paint sinkage?
The reasons why sinkage occurs in paint, as in many other cases, are due to different factors. Knowing them in detail will allow you to anticipate a possible sinkage defect in the painting.
Cause 1: Incorrect intermediate coat insulation
Patch marks are often associated with poor filler preparation, or the absence of it during repair.
Sometimes, this coat is applied incorrectly because the finish coat of paint is applied without having waited the drying time established for the filler paint. On the other hand, thick coat will also contribute to the appearance of this defect. Use a 2K filler to isolate the intermediate coat.
It is therefore essential to follow the indications provided in the product’s technical data sheet in terms of drying and evaporation times of the filler coat, to prevent waste and shrinkage.
Cause 2: Errors made while preparing, applying and sanding the putty
As the name implies, in most cases, the polyester putty sinkage is related to an incorrect application of the putty, in its different phases.
Poor application and preparation of the putty will result in an uneven and more porous surface than what is recommended, causing the next coats of paint, such as the filler or finish coat, to be absorbed by the putty patch. Once again, it is essential to follow the instructions provided on the technical data sheet when preparing the putty mix and its subsequent drying.
Cause 3: Failure to prepare patch edges
Patch edges or the area to be repaired must be properly prepared and isolated.
If patch edges are not prepared correctly, the chances of paint clouding will increase. It is essential to work and isolate the edges of the patch in a regular and uniform way, for an optimal behaviour and anchoring of the subsequent coats of paint.
What to do in case of paint sinkage?
The first thing you should do is let the paint harden completely, applying external heat (Infrared) if necessary. Then you should inspect the area and assess the extent of the defect, carefully examining the sinkage produced. If the defect is on the surface:
Before assessing the paint defect, wait for the finish paint coat to dry completely. Subsequently, assess the damage caused on the surface, examining whether patch marks have occurred in the finish paint. If so, and if the damage is not too serious, proceed as follows:
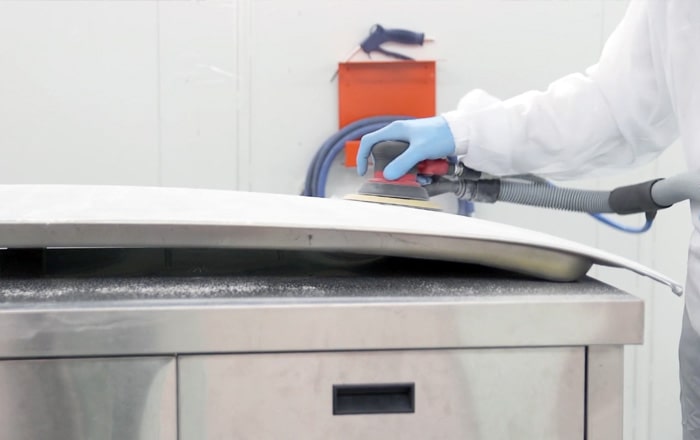
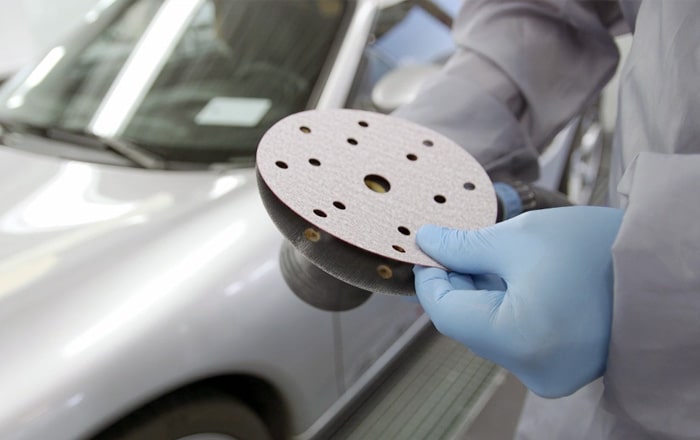
- Sand the area with the sinkage defect with P1500 sandpaper
Sand the area with sinkage with a sander and a P1500 sand disc to start with, increasing the grit as required.
- Smoothening the surface with P3000 sandpaper
Smoothen the repaired surface with a P3000 sandpaper. This will prevent possible sanding marks caused during the previous sanding phase. Then, clean the dust generated with a degreaser and microfibre cloth.
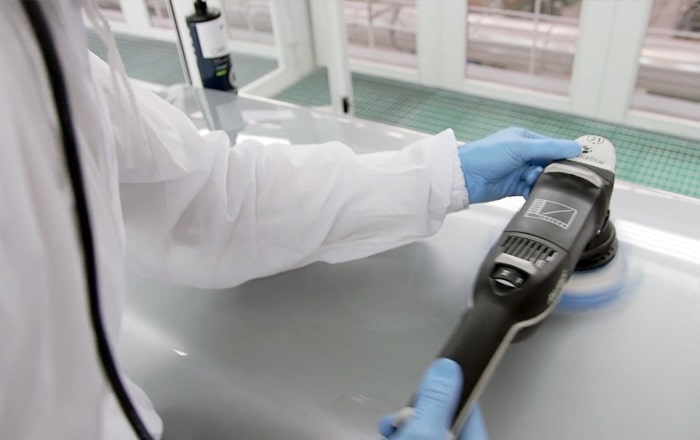
- Polishing the surface
Once the flaw has been removed, polish the surface of the part with a sander, and then apply another gloss polisher.
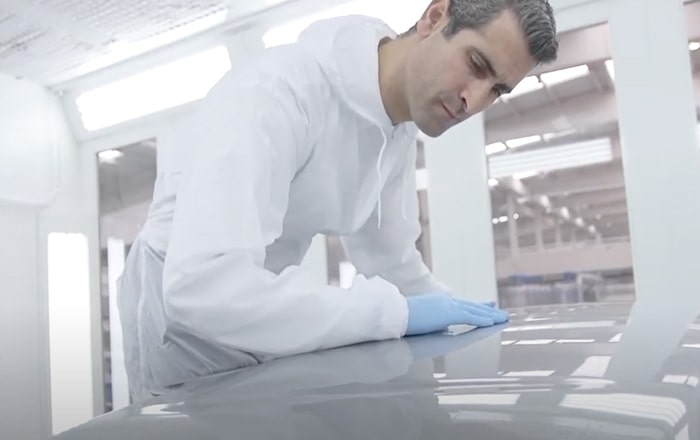
- Cleaning with a microfibre cloth
Finally, clean the area with a degreaser and a clean cloth to assess the result obtained.
- If the sinkage is more serious, you will have to carry out the repainting process from the start:
It may happen that paint sinkage is too large and too deep to be removed from the surface. In this case, you will have to repair from scratch.
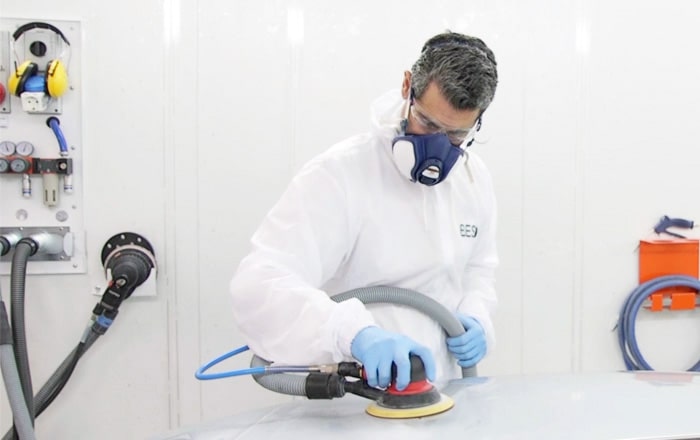
- Sanding to the intermediate coat
Sand the area to repair with sandpaper adapting it to the type of repair, until the surface is free of defects. Make sure that the base is properly insulated to avoid the problems described above.
- Applying the finish coat
Finally, apply the finish paint.