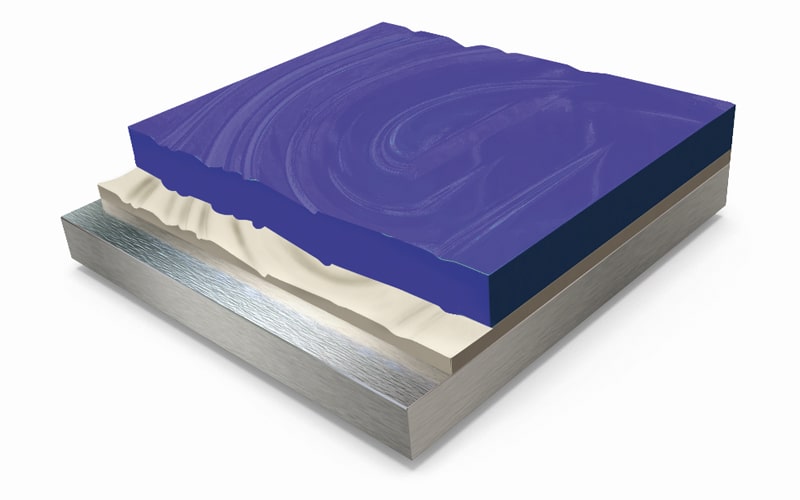
Sanding marks or scuff marks on paint is a repainting defect that occurs primarily during the sanding and intermediate coating processes.
The shape and size of the sanding marks may vary depending on different factors such as the sandpaper grit used, the type of sanding performed (manual or machine) or the type of surface to repair, among others.
Let us now see what sanding marks are, the causes that favour their appearance, and how to correct this painting defect.
What are sanding marks on paint?
Sanding marks or grooves are a set of scratches that have not been covered or filled in with the paint coat. It is a paint defect that usually appears under the finish coat.

Sanding marks are mainly caused by too coarse a sanding in the prepared areas or by a lack of paint filling power and levelling. Sanding grooves can arise individually, or together with other grooves on the surface.
Why do sanding marks appear during repainting?
As with other defects, there are many reasons for sanding marks to appear. Knowing them in detail will allow you to anticipate possible errors.
1. Incorrect choice of sand grit size and orbit
The main cause of the appearance of sanding marks is related with an incorrect choice of the grit used for sanding the putty or filler. If you choose a coarser grit than what is recommended, it will cause a mark that is too deep to be levelled by the paint layer.
Follow the instructions provided in each product’s technical data sheet, where the grit size to be used will be specified.
In addition, choose an orbit size according to the type of paint coat you are going to sand. For example, for finish coats, use smaller orbits. When sanding the filler, the eccentric movement should exceed 5 mm.
It may be advisable to use a sanding guide for better control of the surface being sanded, thus avoiding the appearance of sanding marks.
2. Incorrect preparation of the intermediate coats
It is also important to follow a proper sanding technique, using the different sandpaper grits in a staggered way.
It is advisable to smoothen the sanded surfaces to enhance the paint coverage and levelling. This step will also result in better anchoring and performance of the final paint finish.
3. Not respecting the drying times
Observing the drying times established in the technical data sheet for the intermediate coats is essential.
Sandpaper marks become more noticeable as a result of the swelling of the intermediate coat products during application, and their subsequent shrinkage during the drying process.
4. Lack of layer thickness
Likewise, an insufficiently thick finish coat will prevent the full coverage and levelling of the marks and grooves produced during sanding, encouraging the appearance of sanding marks . Use the coat thickness recommended by the manufacturer.
How to fix sanding marks?
Once the part has dried, inspect and assess the size and scope of the sandpaper grooves.
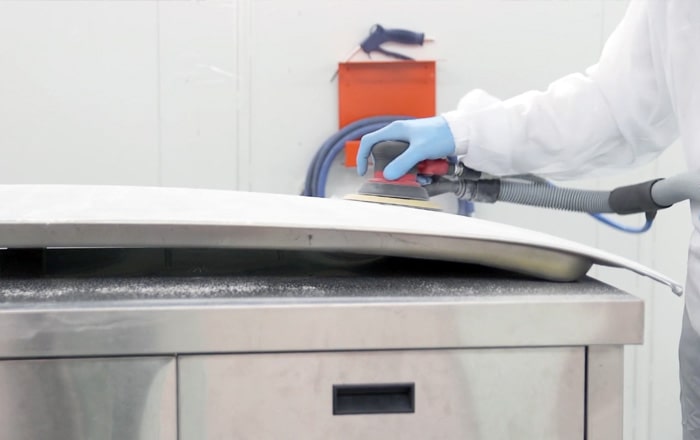
- Sanding with P1500 sandpaper
If the sanding marks are small and shallow, and the finish is a single layer base coat, sand the surface of the part with a P1500 sandpaper, increasing the grit as needed.
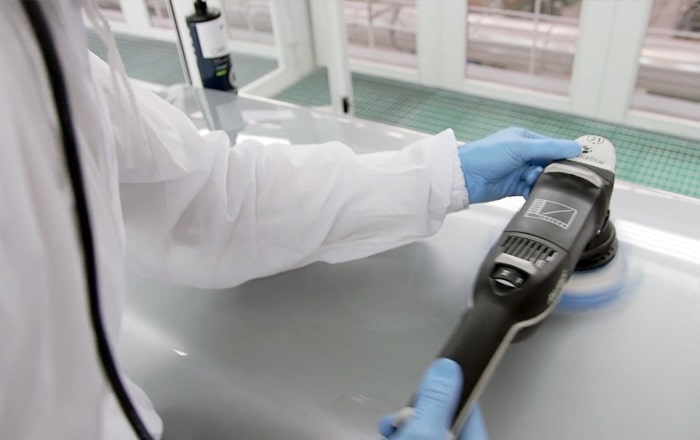
- Surface polishing with quick polish
Then, apply a quick polish with the polishing machine, ensuring uniform pressure and movement.
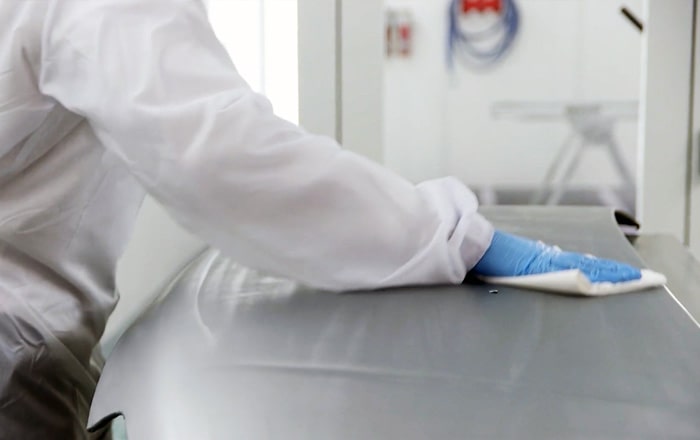
- Cleaning with a microfibre cloth
Finally, clean the area with a cloth to assess the result obtained, and to check if there are still sanding grooves on the surface.
- In two-coat finishes…
This solution would not be valid for two-coat finishes, since the marks would be on the basecoat and not only on the clear coat, so they could not be removed by polishing the clear coat.
Depending on the severity of the damage, one solution may be to apply a new finish coat to conceal the sanding marks produced.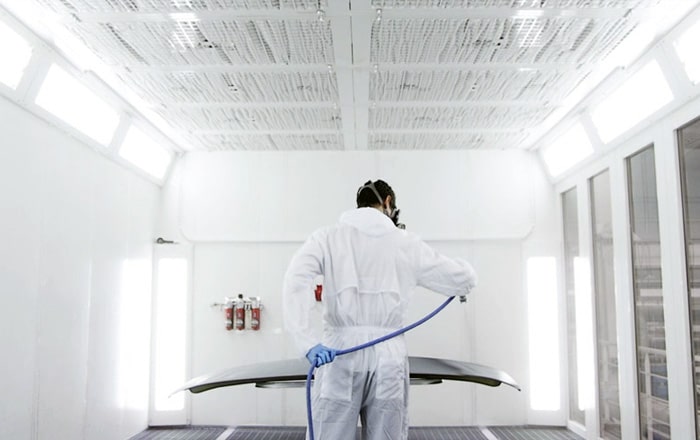
- Repair from the intermediate coat
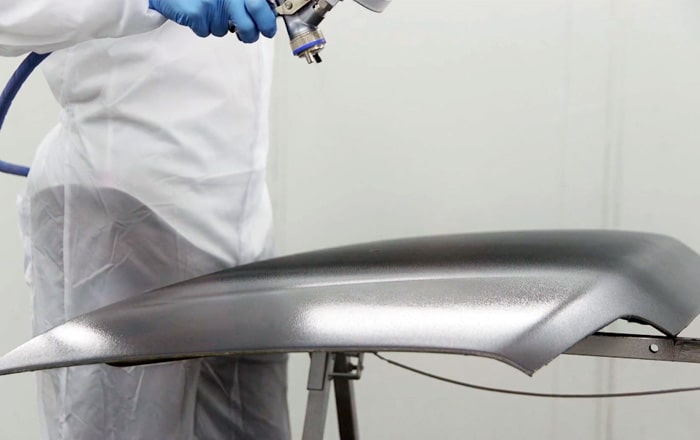
If the surface shows a relief or roughness, the only option will be to repair the affected area from scratch, preparing the intermediate coat again and applying the finish paint. This will prevent the appearance of sandpaper marks.
Other defects that appear when applying paint to bodywork:
- How to fix paint cracking
- How to fix popping or sokvent boils in paint.
- How to prevent sanding marks on automotive paint.
- How to fix sinkage in car paint.
- Solution to silicones in the workshop.
- How to prevent clouding or cloudiness in metallic colours.
- How to solve blooming or loss of gloss in paint.
- How to prevent sanding marks in painting


