

Replacing and painting plastic parts, whether new or repaired, is a common process in the workshop. In some cases, this type of parts such as bumpers, mirrors or exterior mouldings can lack any primer, so a coat of primer will have to be applied to the plastic for the correct adhesion and behaviour of the paint.
You have surely wondered at some point how to apply plastic primer, or when to apply plastic primer or adhesion promoter to plastics. The following post will show you all the key aspects to consider when preparing and applying primer to plastic, taking as an example the process of repairing a new unprimed plastic part.
What is plastic primer?
Plastic primer, also known as plastic adhesion promoter, is a product that is mainly intended to optimise the adhesion of subsequent coats of paint, such as putty or filler paint, to the surface. The plastic primer applied at the auto bodyshop will provide these coats of paint with better anchoring on the part, preventing their cracking or detachment from the surface due to possible impacts, rubbing or vibrations.
This is why the adhesion promoter plays a key role in the efficient repair of plastic parts on a vehicle body.
Which primer to use in the painting of plastic?
Depending on the level of adhesion, thickness or viscosity of the product, you can find different types of primers for plastics. The type of plastic to repair will directly influence the primer’s adhesiveness.
Gun sprayed adhesion promoter for plastic
Primers applied to larger plastic surfaces can use an adhesion promoter in container format, which is applied with a spray gun.
An example of this type of product is SINNEK’s PL/1895 adhesion promoter, which is compatible with a wide range of plastic parts in the automotive sector, such as PUR, PS, PA, EPDM, ABS, PVC, GRP.
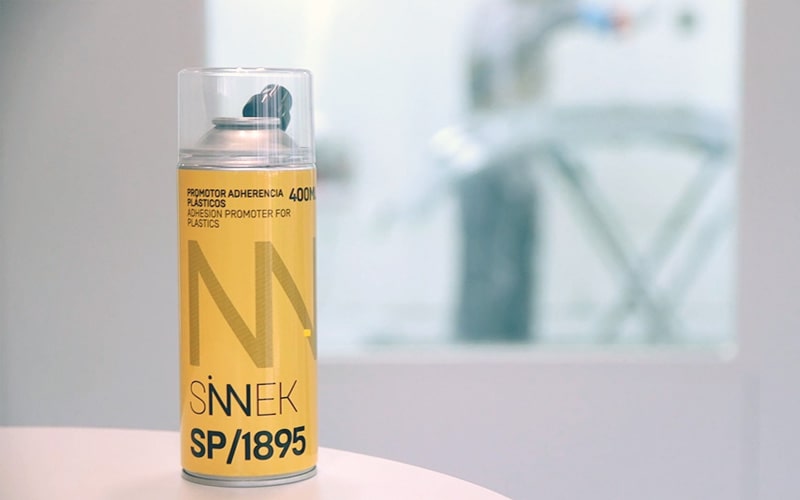
Spray on adhesion promoter for plastic
Another option is spray primers for plastics, such as SP/1895, a product suitable to repair patches and/or small surfaces. It is also easy to apply and allows good adhesion to different types of substrates.
When to use the plastic primer?
In repairs and paintings of plastic parts, professionals can be faced with different scenarios depending on the severity of the damage. For larger flaws, bumpers can be fully replaced by a newly manufactured part, although the preparation and repainting process will be different in this case.
Today, the most vehicle manufacturers supply replacement plastic parts with a pre-treatment (primer) which benefits the repainting process. This way, professionals receive parts that are ready for applying the finish paint directly.
However, it can also happen that the new plastic part does not have this previous coat of primer, which in turn will influence the painting process. You will need to apply an adhesion promoter or plastic primer to optimise the anchoring of the subsequent coats.
Another option is to repair the plastic part. In this case, the part has lost the primer coat, so the adhesion promoter will have to be applied again to optimise the paint’s anchoring.
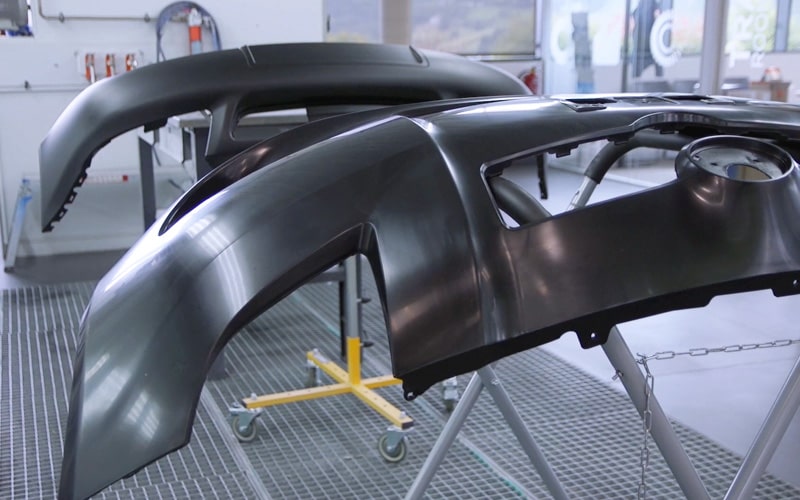
Painting process of new unprimed plastic parts
Let us see the steps to consider when painting a new unprimed plastic part. This is a usual example where a plastic primer will have to be applied to optimise the paint’s adhesion.
- Identifying the type of plastic
First, find the code corresponding to the type of plastic.
If the plastic is compatible with the adhesiveness of the filler to be used, applying an adhesion promoter will not be required.
- Thorough cleaning
Clean and degrease the part thoroughly to optimise plastic adhesion.
Blow the surface with an air gun.
Then clean the part with water and soap, and degrease it thoroughly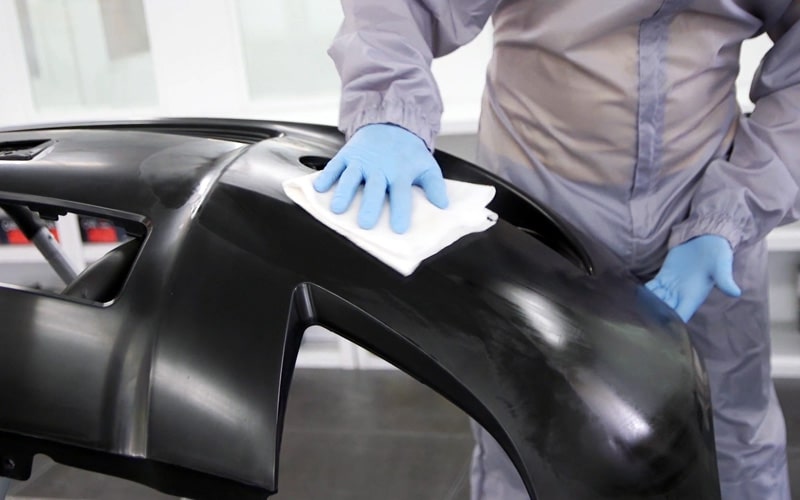
- Tinting the surface
Tint the bumper’s surface to improve adhesion.
Then clean the surface again to remove any sanding residues.
Use deionizers to help remove any static charge on the part. This will keep dust particles away.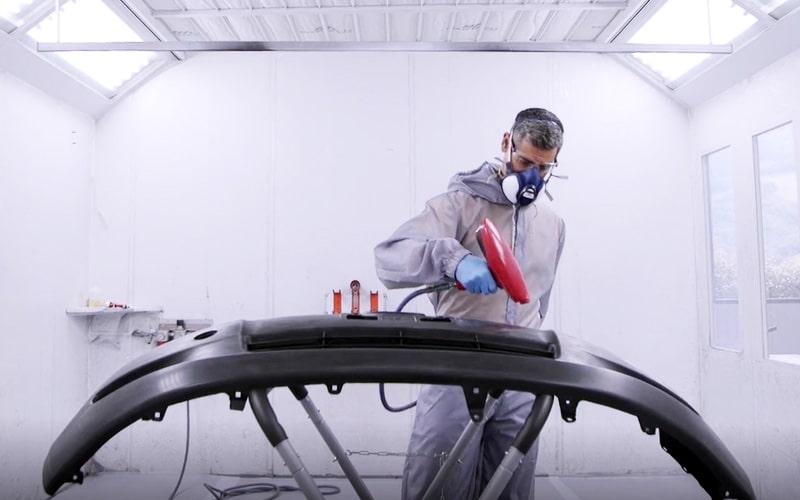
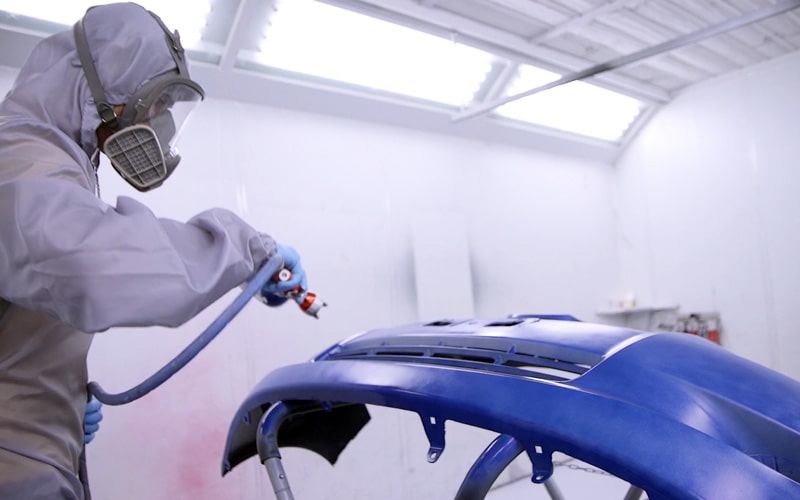
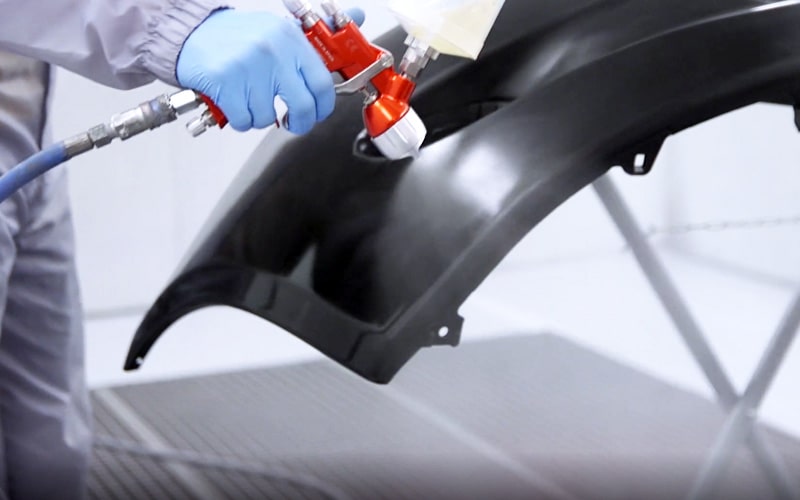
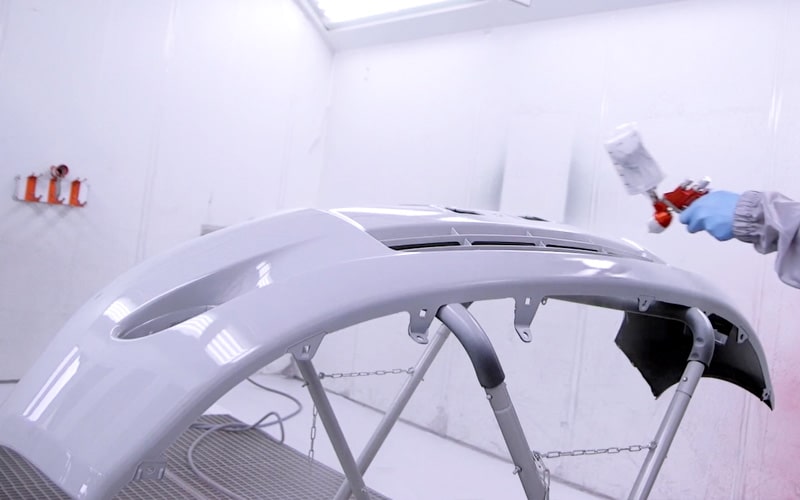
- Applying adhesion promoter
Apply an adhesion promoter for fast-drying plastics.
Apply a thin and even coat over the entire surface.
Follow the specifications of the product’s technical data sheet in terms of drying time, gun adjustment, etc.
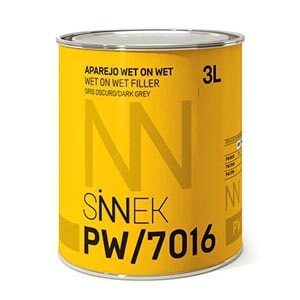
This type of product also has a spray version for smaller repairs. - Wet on wet filler
In this case, since it is an entirely newly manufactured bumper, use a wet on wet filler to optimise time and profitability in the repair.
- Applying the finish paint
Carry out the final finish process.
Apply the finish paint.
Finally, apply the clear coat following the specifications provided in the technical data sheet and other factors such as room temperature and humidity.