

The appearance of clouding or streaks in car paint results from misapplication during repainting. This usually occurs in colours such as shades of grey, gold or champagne .
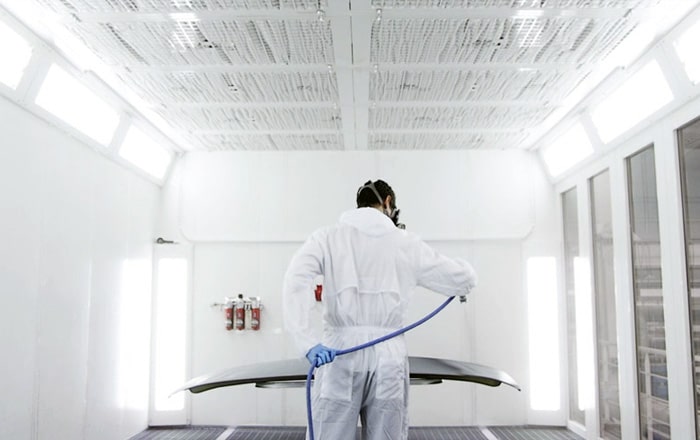
Clouding, also known as paint cloudiness, is a repainting defect that requires repeating the work process from the intermediate coats to be repaired. Therefore, as professional painters, it is important that you know the reasons why clouding appears in paint and how to repair this. This will impact on increasing the production level and profitability in the auto body shop.
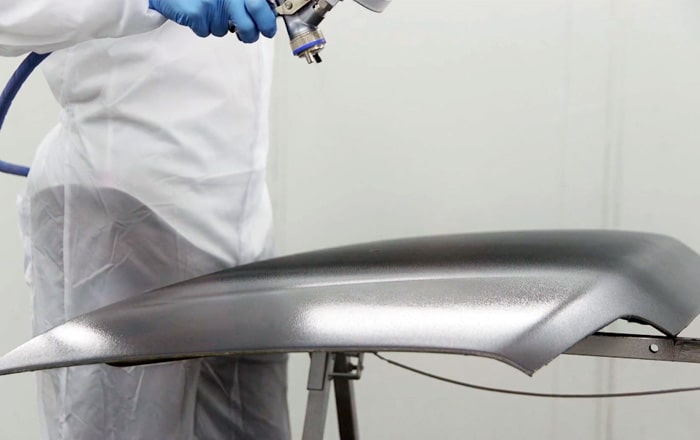
What are they and how are clouding or cloudiness formed in car paint?
Paint clouding is a repainting defect that appears as a stain or streak with different shapes and shades in the finish paint. This causes irregularities in the colour’s intensity, resulting in some lighter and some darker areas in the repaired parts.
One of the main causes of the appearance of clouding in paint is an incorrect application of the finish paint, especially in metallic colours. An irregular arrangement and orientation of the metallic particles containing these colours will cause an irregular light reflection on the surface, resulting in the appearance of different saturations and intensities in the final colour.
How to prevent clouding or streaks in the body paint?
The appearance of cloudiness in the body paint can be due to different factors that you must master to prevent this application error.
Cause 1: Not applying a control or effect coat
Some colours present a greater challenge for the bodywork painter to match or reproduce, especially when these are complex colours such as some metallic or pearly shades, etc.
In this type of colours, it is advisable to apply a light and regular control or effect coat, which will allow to optimise the placement of the metallic particles on the part, distributing them evenly and thus preventing the appearance of clouding in the paint of the repaired area.
Cause 2: Incorrect adjustment and condition of application gun
To prevent any paint defects at the workshop, it is always advisable to keep the spray gun in the best possible condition, with regular cleaning and maintenance of the nozzle, fluid nozzle and paint nail.
Before applying the finish, especially in complex colours, such as three-coat colours, you should carry out a prior test of the gun’s fan pattern, which will ensure regular spraying of the product.
This will reduce the chances of clouding or cloudiness appearing during the painting of the part. The adjustment will be carried out based on the product specifications provided on its technical data sheet.
Cause 3: Position of the gun in relation to the part
A common cause of the appearance of clouding or streaks in the paint is related to the position of the application equipment in relation to the part.
You should place the gun perpendicular to the part, ensuring a more uniform and regular application throughout the area to be repaired. You must press the trigger right to the end, to favour a correct distribution of pigments.
Cause 4: Overlapping of layers
If you do not use a correct technique for the overlapping and integration of each coat during the repainting process, you risk applying a different product micronage between application areas, which could cause the appearance of clouding or cloudiness on the surface.
On the contrary, if the overlapping of layers is carried out with excessive distance between them, this could cause colour stripes, meaning possible paint streaks.
Cause 5: Incorrect application of the final clear coat
In some cases, paint clouding is caused because too much pressure is applied during the final clear coat application process.
In addition, if the distance between the gun and the area to be repaired is too short, the chances of generating surface streaks will increase. This is why you should use a correct technique applying the coat evenly.
Cause 6: Incorrect product viscosity
The paint’s viscosity must be adapted according to the application, such as the type of repair or the room temperature and humidity. Otherwise, the chances of clouding appearing in the paint will increase as a result of an incorrect orientation of the aluminium particles.
Using slow thinners will enhance the application of paint and the attachment of metals. As in other cases, please check the technical data sheet to obtain a suitable product viscosity.
How to deal with cloudiness in metallic coloured paint?
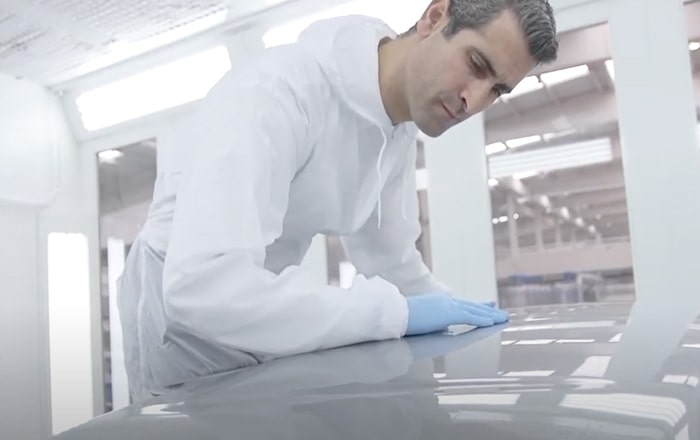
First, wait for the finish coat to dry completely, then assess whether there is any clouding in the paintwork of the repaired car. If streaks or cloudiness appear in the paint, you will have to repeat the entire repair process, as this painting defect cannot be solved by surface sanding and polishing.
- Surface damage assessment
After the finish paint has dried, assess the complexity of the damage caused and the size and type of clouding.
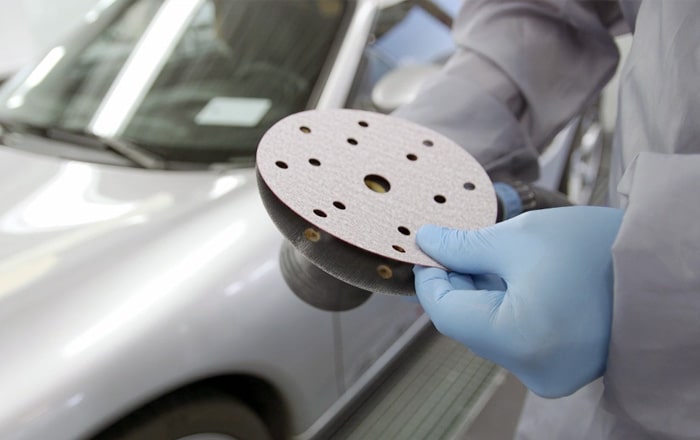
- Sanding the surface down to the intermediate coat
Sand the part down to the intermediate coat, making sure to remove any cloudiness or streaks.
- Applying the primer
Make sure that the intermediate coat is properly insulated with filler paint, and then sanded.
- Applying the finish paint
Finally, apply the colour and the clear coat, trying to avoid the causes leading to the appearance of paint clouding.