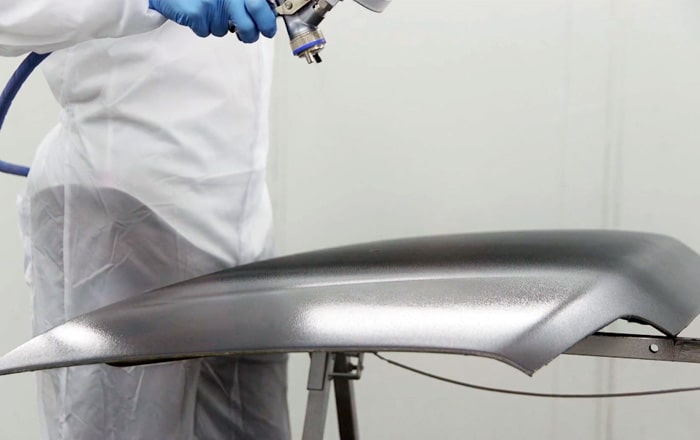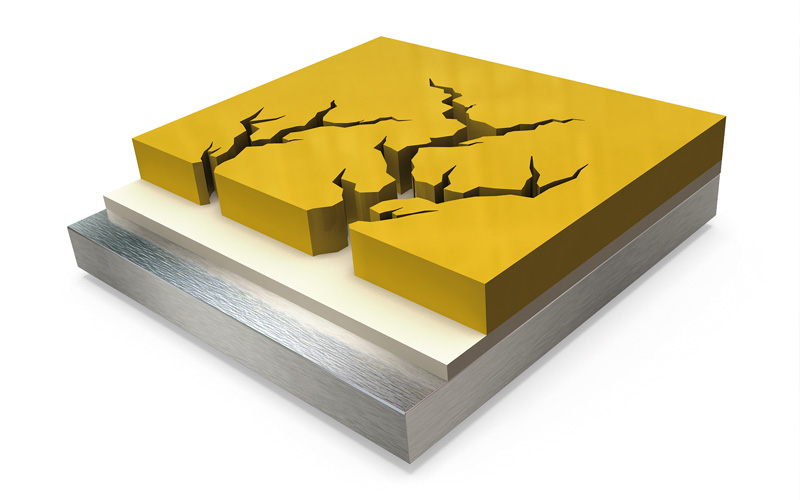
Cracking is a repainting defect that becomes visible especially when inspecting a vehicle’s surface, once the top coat paint has dried.
In these cases, you will distinguish small cracks in the paint, which make the surface lack a correct finish or protection against external agents.
Faced with these situations, as professionals, you must learn and go deeper into the causes that give rise to the appearance of cracking in the paint, and what steps are to be taken to repair the cracking car paint defect.
What is cracking in automotive paint?
Very simply, you can say that you are dealing with a paint cracking defect when a partial or total cracking of the painted surface becomes visible during the application process or the drying process of the car paint.
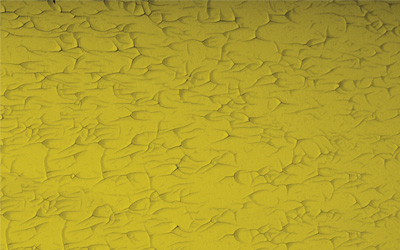
The cracking appearing on the surface will have different widths and lengths, arranged in various directions, resulting in an uneven and non-uniform surface.
How to prevent paint cracking?
The reasons why cracking can occur in paint, as in many other cases, have to do with different factors. Knowing them in detail will allow you to anticipate a possible paint cracking defect.
Incorrect paint preparation
Make sure that the mixed correctly, providing the amount of thinner recommended by the manufacturer, always following the specifications provided in the technical data sheet.
Fluctuations in room temperature
Changes in room temperature, whether in the booth or outdoors, and exposure to UV radiation can lead to the appearance of cracking in the paint.
Paint layer thickness
Too high a layer thickness, usually caused by incorrect product application, can lead to cracking in the paint. Once again, please follow the indications provided on the technical data sheet regarding coat thickness and drying times between coats.
What should you do when the paint cracks?
If the paint has cracks only in the surface area of the part, follow these steps to repair the cracks on the paint coat.
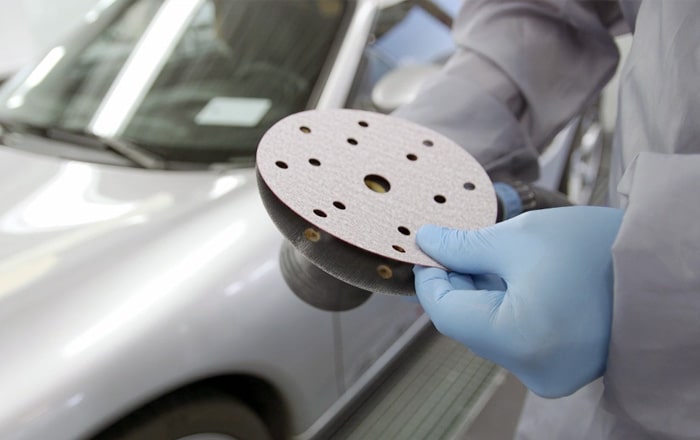
- Sanding the cracked area with P1500 sandpaper
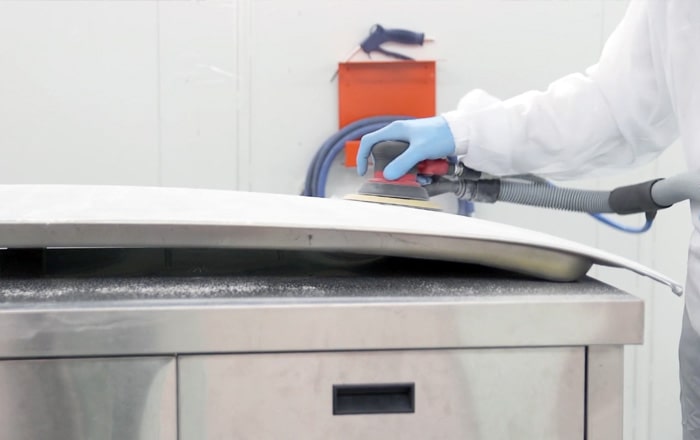
First sand the cracked area with a P1500 sanding paper. They should be previously limited with masking tape, to prevent invading undamaged bordering areas.
- Smoothening the surface with P3000 sandpaper
Then use a P3000 grit to smoothen the surface and remove possible sanding marks. Once the surface has been sanded, clean the dust that has been generated with a degreaser and a microfibre cloth.
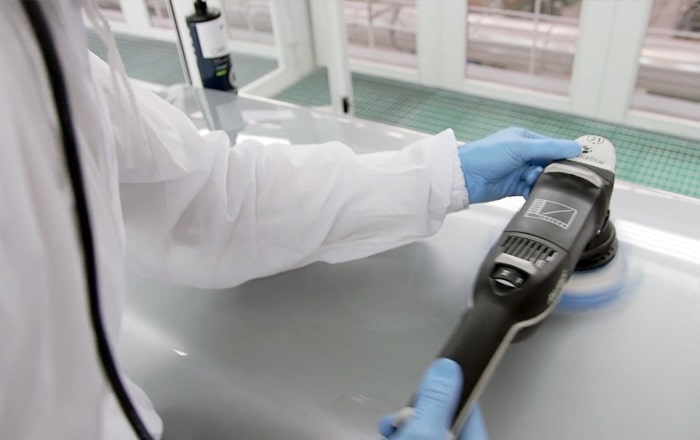
- Surface polishing with quick polish
Subsequently, apply a quick polish with the polishing machine, ensuring uniform pressure and movement.
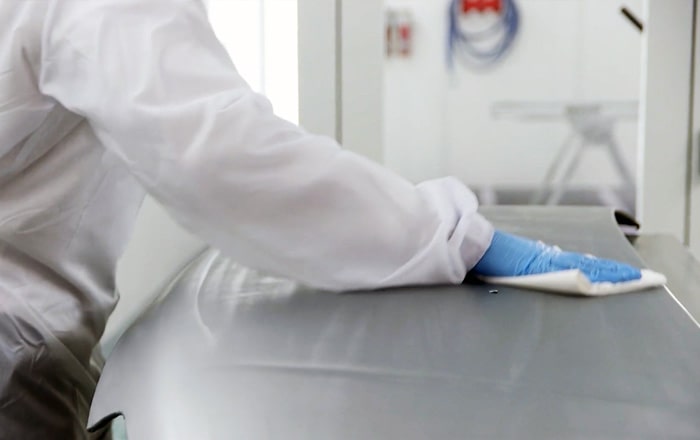
- Cleaning with a microfibre cloth
Finally, clean the area with a degreaser and a clean cloth to assess the result obtained.
- If the cracking is deep and the defect persists…
If cracking persists in the finish paint, polishing will not be sufficient. You will then need to prepare the surface to perform the painting process from scratch.
Use a roughing sanding paper. The sandpaper grit to be used will be chosen according to the severity of the paint cracking.
Sand the surface until completely removing the paint cracking.
Use a degreaser to remove any dust residues generated by sanding.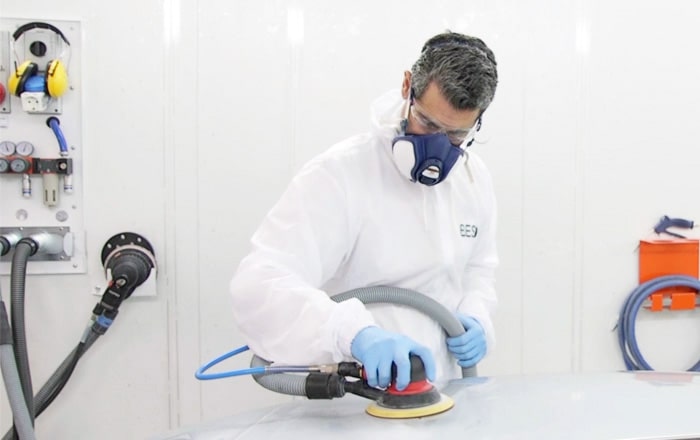
- Applying the filler coat
Apply the filler coat and then sand. Follow the advice provided for a correct application and to prevent any subsequent problems.
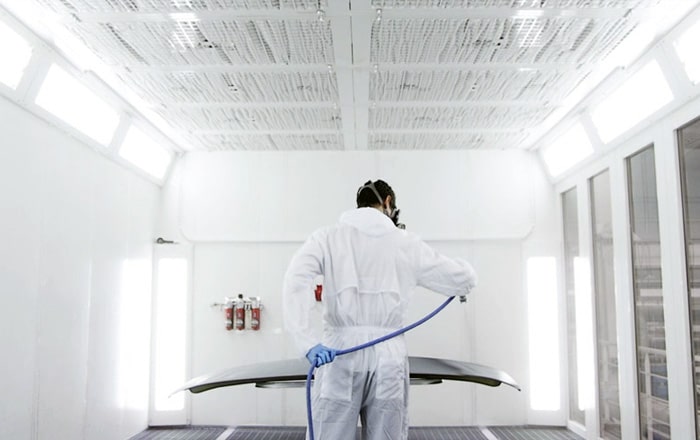
- Applying the finish coat
Apply the finish paint trying not to overload the surface. Make sure beforehand that the mixture has been made correctly.
