Applying clearcoat to a vehicle is a key process for obtaining an excellent final finish on a car repainting job.
However, it is also a process in which different problems and difficulties can arise, which can lead to different painting defects. It is therefore important to consider the factors that influence a correct application and final performance of the clearcoat when applied to a car.
1. Correct preparation of intermediate coats
The first and most important step when applying the clearcoat starts even before applying it. A correct application of the lower coats of paint, such as polyester putty, will influence the clearcoat’s behaviour on the part.
Correct prior sanding, polishing or cleaning of the surface is essential for an excellent final finish when applying clearcoat to a car.
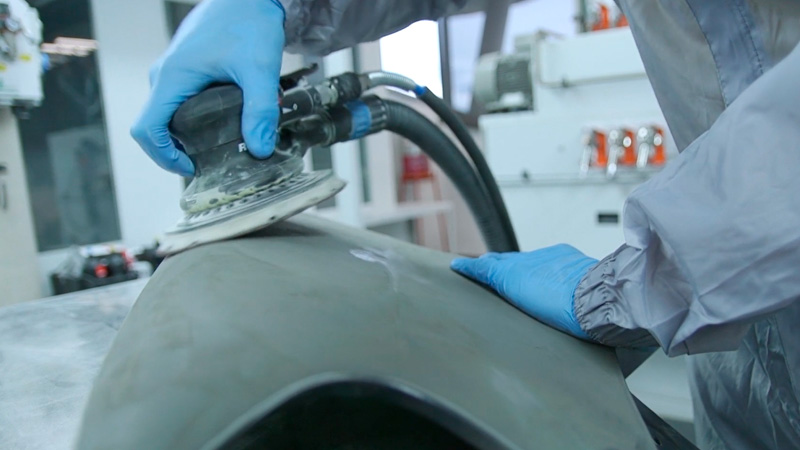
In any of these processes, make sure that the surface is clean and free of dirt and impurities before applying the clearcoat.
In addition, make sure you do not remove an excessive micronage, especially during the sanding process, as it may influence the clearcoat’s anchorage. This will also prevent any subsequent appearance of circles on the part or possible painting defects.
2. Mixing ratio of clearcoat and viscosity
The mixing ratio of clearcoat refers to the ratio of clearcoat, hardener and, in some cases, thinner in the mixture to obtain an ideal product viscosity and application.
This mixing ratio will always be indicated on the manufacturer’s technical data sheet, so always following the instructions is essential.
This should be part of the natural process of preparing the mixture, and it will increase the performance of the clearcoat in terms of drying time, product flow and final finish.
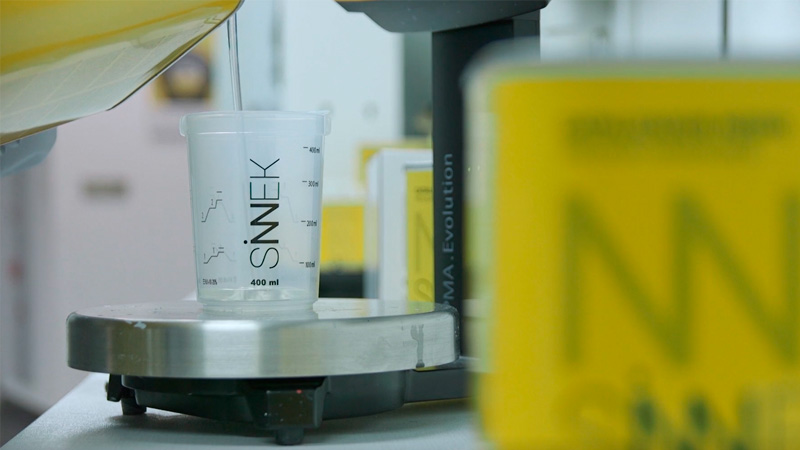
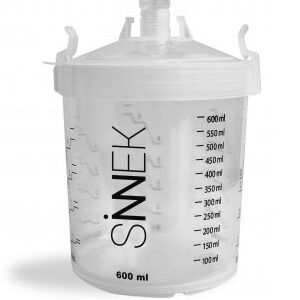
To get the exact mixing ratio, use the precision weighing scale and other bodywork attachments such as regulated containers with different mixing ratios.
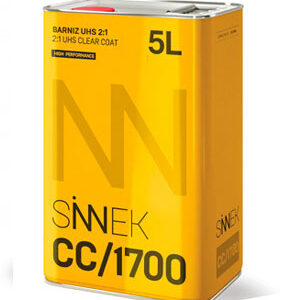
An example of a mixing ratio would be 2:1 + 0%-5%, i.e. for every two parts of clearcoat add one part of hardener and between 0% and 5% of thinner (depending on the dilution requirements).
3. Clearcoat temperature and application temperature
Controlling the clearcoat temperature before applying it, and also that of hardeners and solvents, is a differentiating factor.
Under standard conditions, the clearcoat should always be at room temperature, around 20-25ºC. However, this will vary depending on the type of clearcoat and the manufacturer’s indications.
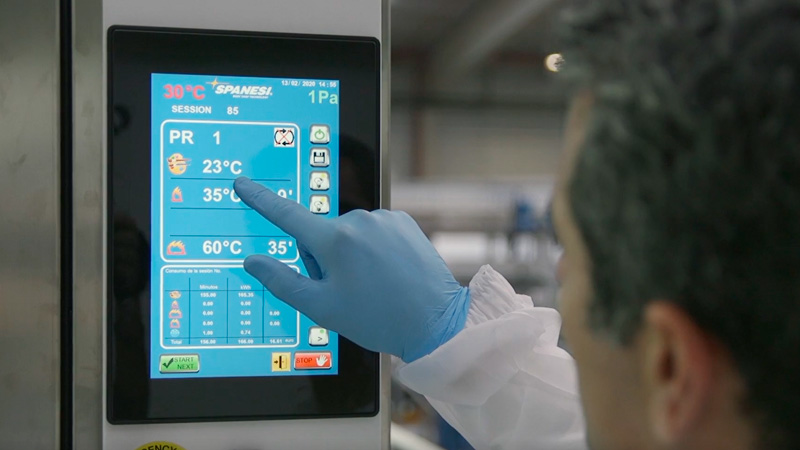
In addition to controlling the product’s temperature, the room temperature will also have a direct influence on the finish results. Extreme room temperatures, whether very low or very high (as it can occur when painting a vehicle in summer), may lead to subsequent paint defects, such as blooming, popping or spraying, among others.
This is why it is advisable to acclimate the booth through the different means available (heaters, rays, etc.). Take as a reference a range of 20ºC – 23ºC, as ideal temperatures for applying the clearcoat.
4. Adjusting the spray gun
The spray gun must be set with a pressure and nozzle opening based on the technical data sheet of the clearcoat to be used. The same data sheet will indicate the values required for a correct application.
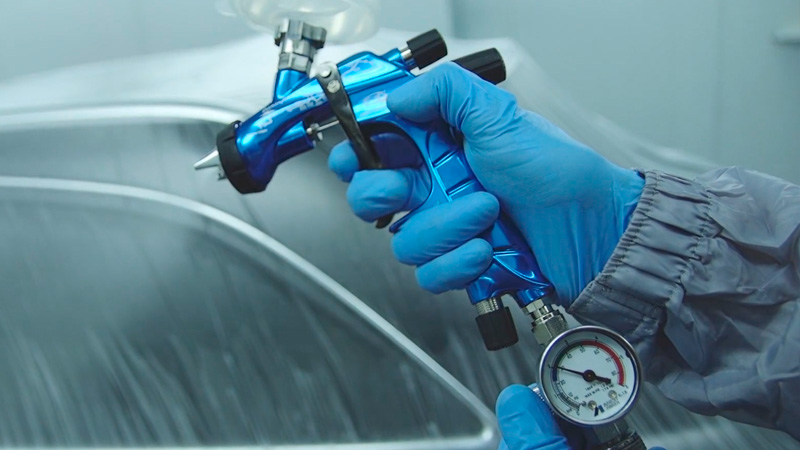
The spray gun must be regulated in such a way that the product flows in fan pattern, in order to generate thin, even and extended coats.
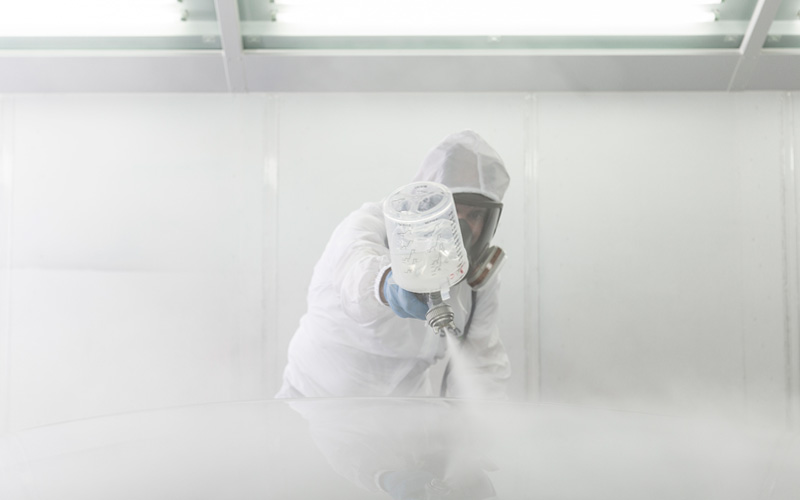
Note that when applying the clearcoat, a larger cloud of atomised product is produced than when applying colour, because more pressure is exercised.
5. Avoiding excess clearcoat
Always avoid excess clearcoat on the part, and try to apply it evenly.
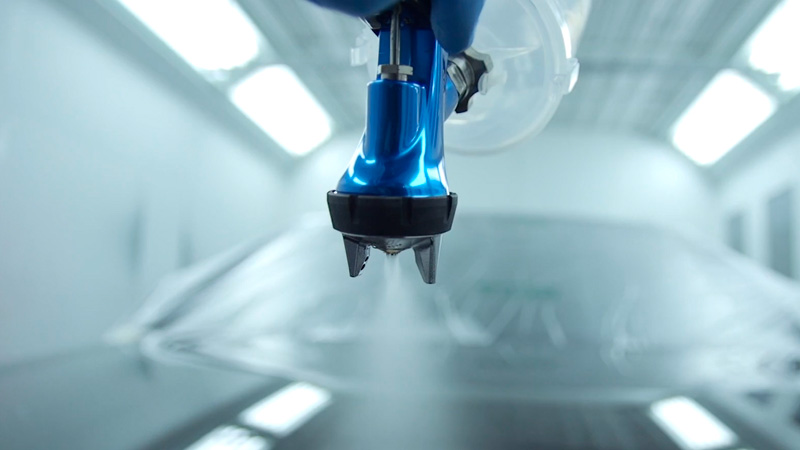
Some parts are particularly sensitive to excess product, such as vertical parts (flaps, doors, etc.), which may result in possible paint defects, such as sagging clearcoat.
Excess or lack of clearcoat on the part will result in a poor finish.
6. Correct cleaning of application equipment
Regular cleaning of the paint application equipment such as the compressor, the compressed air duct or the spray gun is essential to minimise any possible error or defect in the final finish paint.
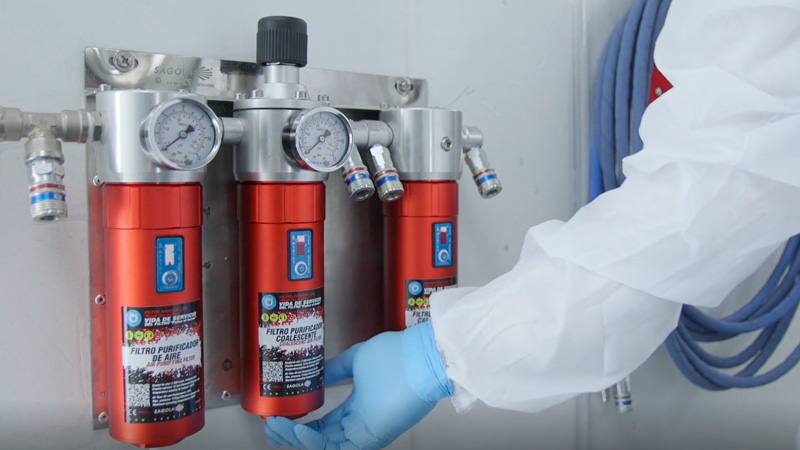
Deep cleaning of all equipment will allow you to work in a safer and more orderly way, and it will be your best ally to prevent defects such as boils or cratering.
7. Clearcoat application method
The clearcoat must always be applied in a linear way, always trying to keep the spray gun at the same speed and distance from the surface during application. If these parameters vary during the coating application process, the chances of the defective final finish will increase.
In addition, for large parts, it is preferable to apply clearcoat to the part by section, and not by part, preventing product overloads in peripheral areas and edges.
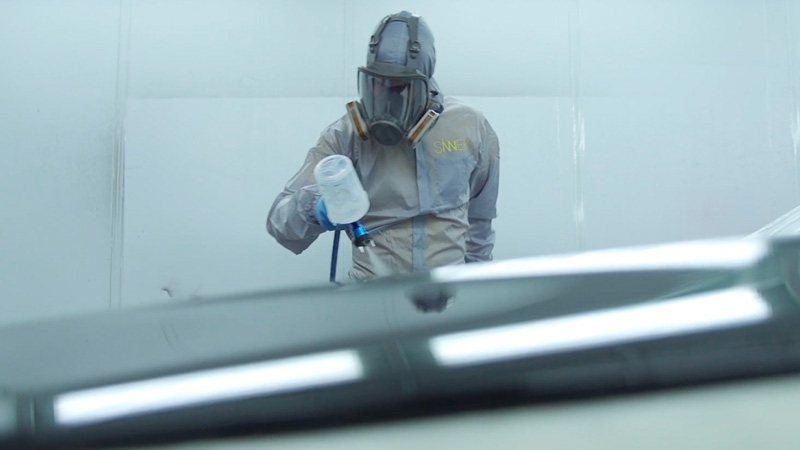
Although it depends on the type of clearcoat to use, in UHS (ultra-high solid) clearcoats a lighter and thinner first layer will generally be applied to wet the surface.
The second layer will contain a greater load and amount of sprayed product, because it will be applied at a lower speed.
Precautions to take during the clearcoat application process
Finally, let us not forget that clearcoats are chemical products, and as such you shall take a number of precautions.
When applying them, use individual protection equipment: mask with chemical filters, nitrile gloves, etc., and the required collective prevention measures: mixing room, application in paint booths or plenums, etc.


