


This post is part of a set of contents related to the process of using the spectrophotometer, where we explain in detail the importance of obtaining accurate colour information when repainting the car.
We will also teach you how to perform a colour reading correctly step by step and its benefits in terms of productivity and profitability for the workshop.
If you want to learn all the steps to consider for the correct use of a spectrophotometer and colour reading, don’t miss the rest of the related contents:
This article focuses on the importance of correctly identifying the surface to be repaired, which will provide you with information about the area where you should take the colour reading and the type of repair to be carried out.
The importance of a colour reading
The colour formulation is a critical process prior to the process of applying the finishing paint and can have a very important influence on the final result of the repair.
Due to the continuous appearance of new shades by car manufacturers, and the increased complexity in reproducing some colours, the use of tools that ensure accurate information in reading the colour becomes essential in many cases.
This need is even more pronounced in pieces that have been previously repainted, where the differences in colour compared to the original factory painting can vary substantially, causing in some cases phenomena such as metamerism.
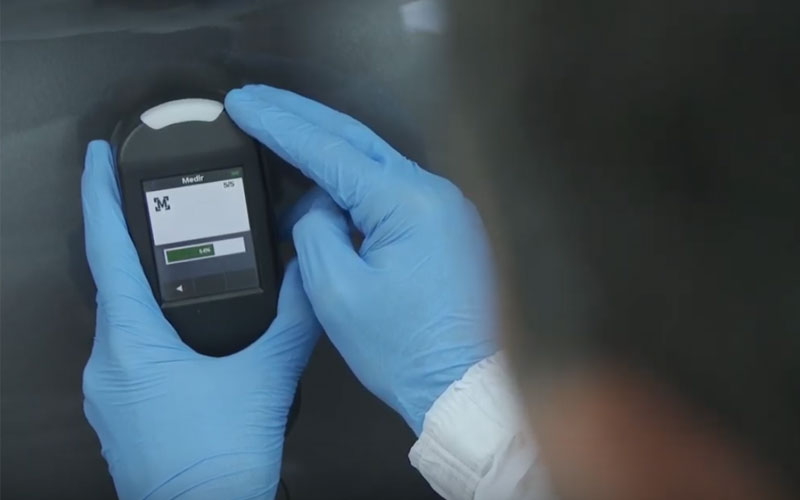
Therefore, it is increasingly necessary to use colour tools such as a spectrophotometer, which makes the colour reading process easier and achieves a higher quality final repair.
Let us now see what steps are necessary to correctly identify the surface to be repaired prior to taking the reading.
1. Find out if the colour of the vehicle is original or repainted
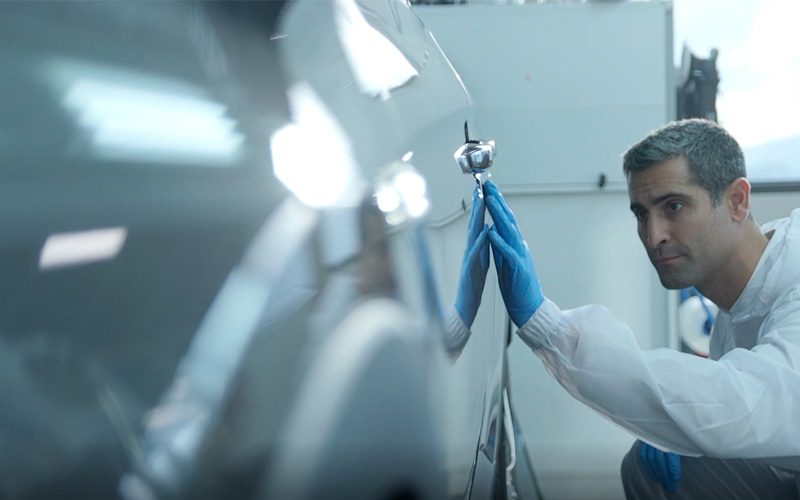
The first step to be considered when correctly identifying the area to be repaired is to find out if the vehicle has been repainted previously, or if on the contrary, it keeps the manufacturer’s original colour.
The vehicle’s different parts and structure must be examined in detail to make sure it has been repainted, or if it has paint defects such as scuffing, sagging, asymmetry of paint or other defects.
Sometimes, it can happen that the car itself keeps its original factory paintwork but has colour differences on different surfaces, due to factors such as the ambient temperature when it was applied in the production line, the nature of the surface material or the calibration of the painting equipment, among other factors.
2. Optional use of a micrometre
An alternative that can give more accurate information about whether a car has been repainted would be to use a micrometre, to know the exact thickness of the surface.
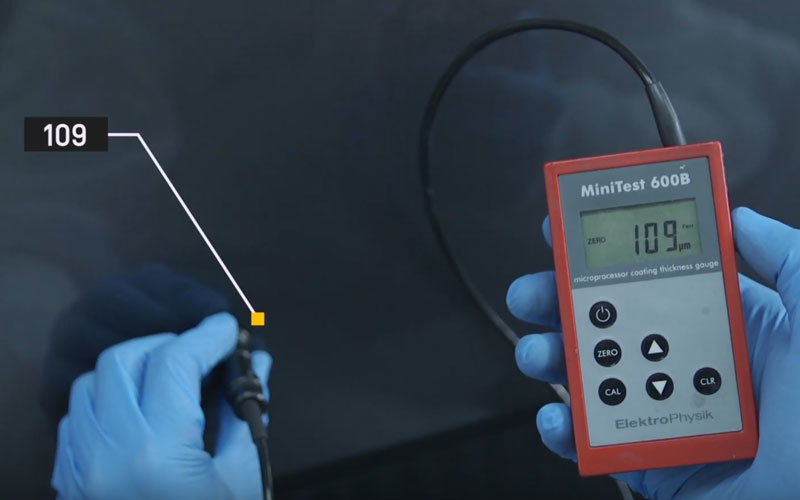
A micrometre will help you compare the value of the micronage of different areas, to know for sure which layer is thicker, and therefore, to know if it has been repainted previously.
3. Choice of reading site depending on whether a blending or a patch is to be made
Depending on where the damage is in the part to be repaired, the technician should assess whether to make a patch or blending the adjacent parts, to ensure an even colour, tone and brightness.
Surface to be patched: reading on the same part

In small damage in larger pieces in central areas, as for example a bonnet or doors, it is possible to place a patch on the surface, to take the colour reading on the same piece, without having to collect information from adjacent pieces.
Surface to be blended: reading on adjacent parts
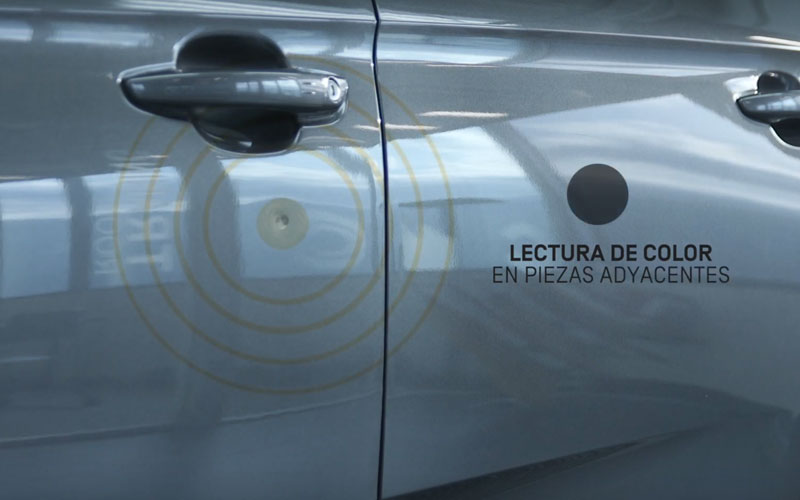
Here is another example of a repair using the blending technique.
Our recommendation is always to apply one layer of blending, as this will increase the possibilities of carrying out a better colour and finish levelling in relation with the set of adjacent pieces.
This way, once the area where the colour reading is taken has been identified, depending on the location and size of the damage, we will go on to the next step: prepare the piece for taking a reading with the spectrophotometer.